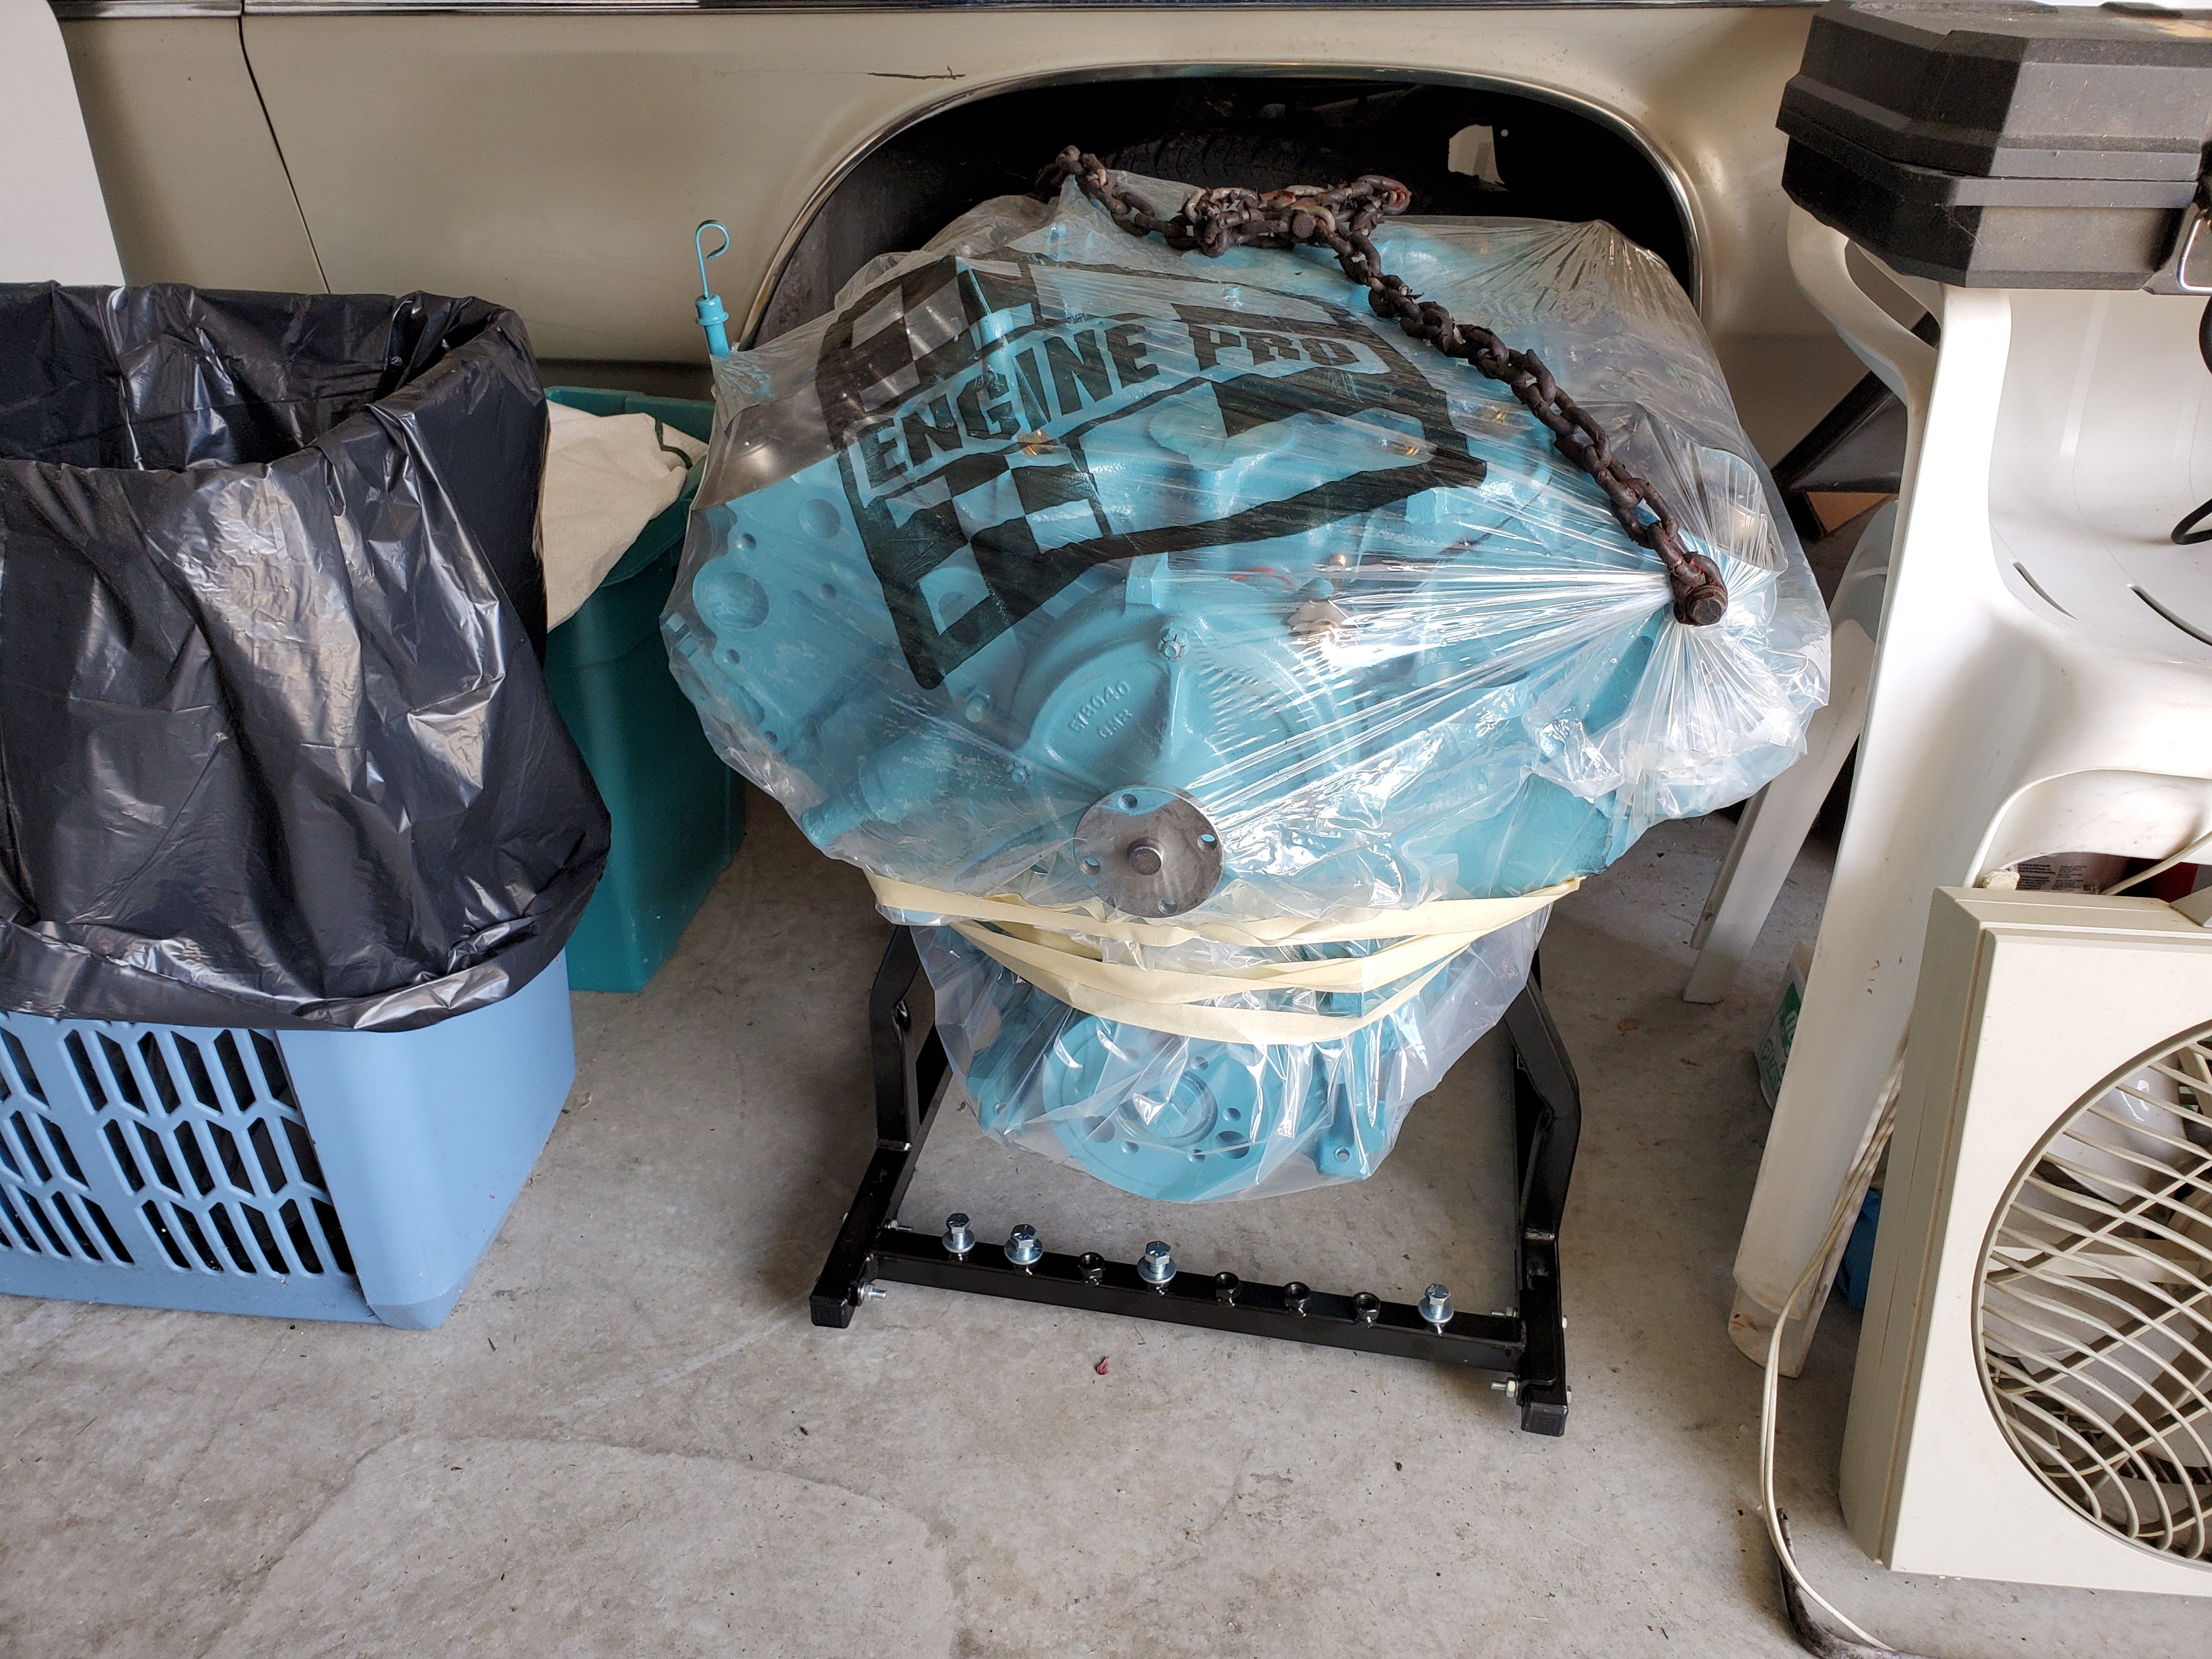
Transmission Swap
Well, It's been a lot of years and a lot has happened since the last time I posted anything. I've changed jobs - a couple times - and I've moved. Perhaps the biggest change, at least
as it pertains to the Bonneville, is that after a lot of research and frustration, I've decided to swap the transmission as opposed to rebuild the original.
I came across a Hot Rod article a few years ago in which the subject '59 or '60 Bonneville had the same issue. The writer outlined a "modern" tranny swap using an adapter from Wilcap.
The idea intrigued me and, of course, the idea of getting my Bonneville back on the road encouraged a long slumbering excitement in me.
What follows is the current and ongoing process of replacing the transmission and dealing with the other issues of resuscitating a car that's been in storage for over 15 years.
Where to begin?
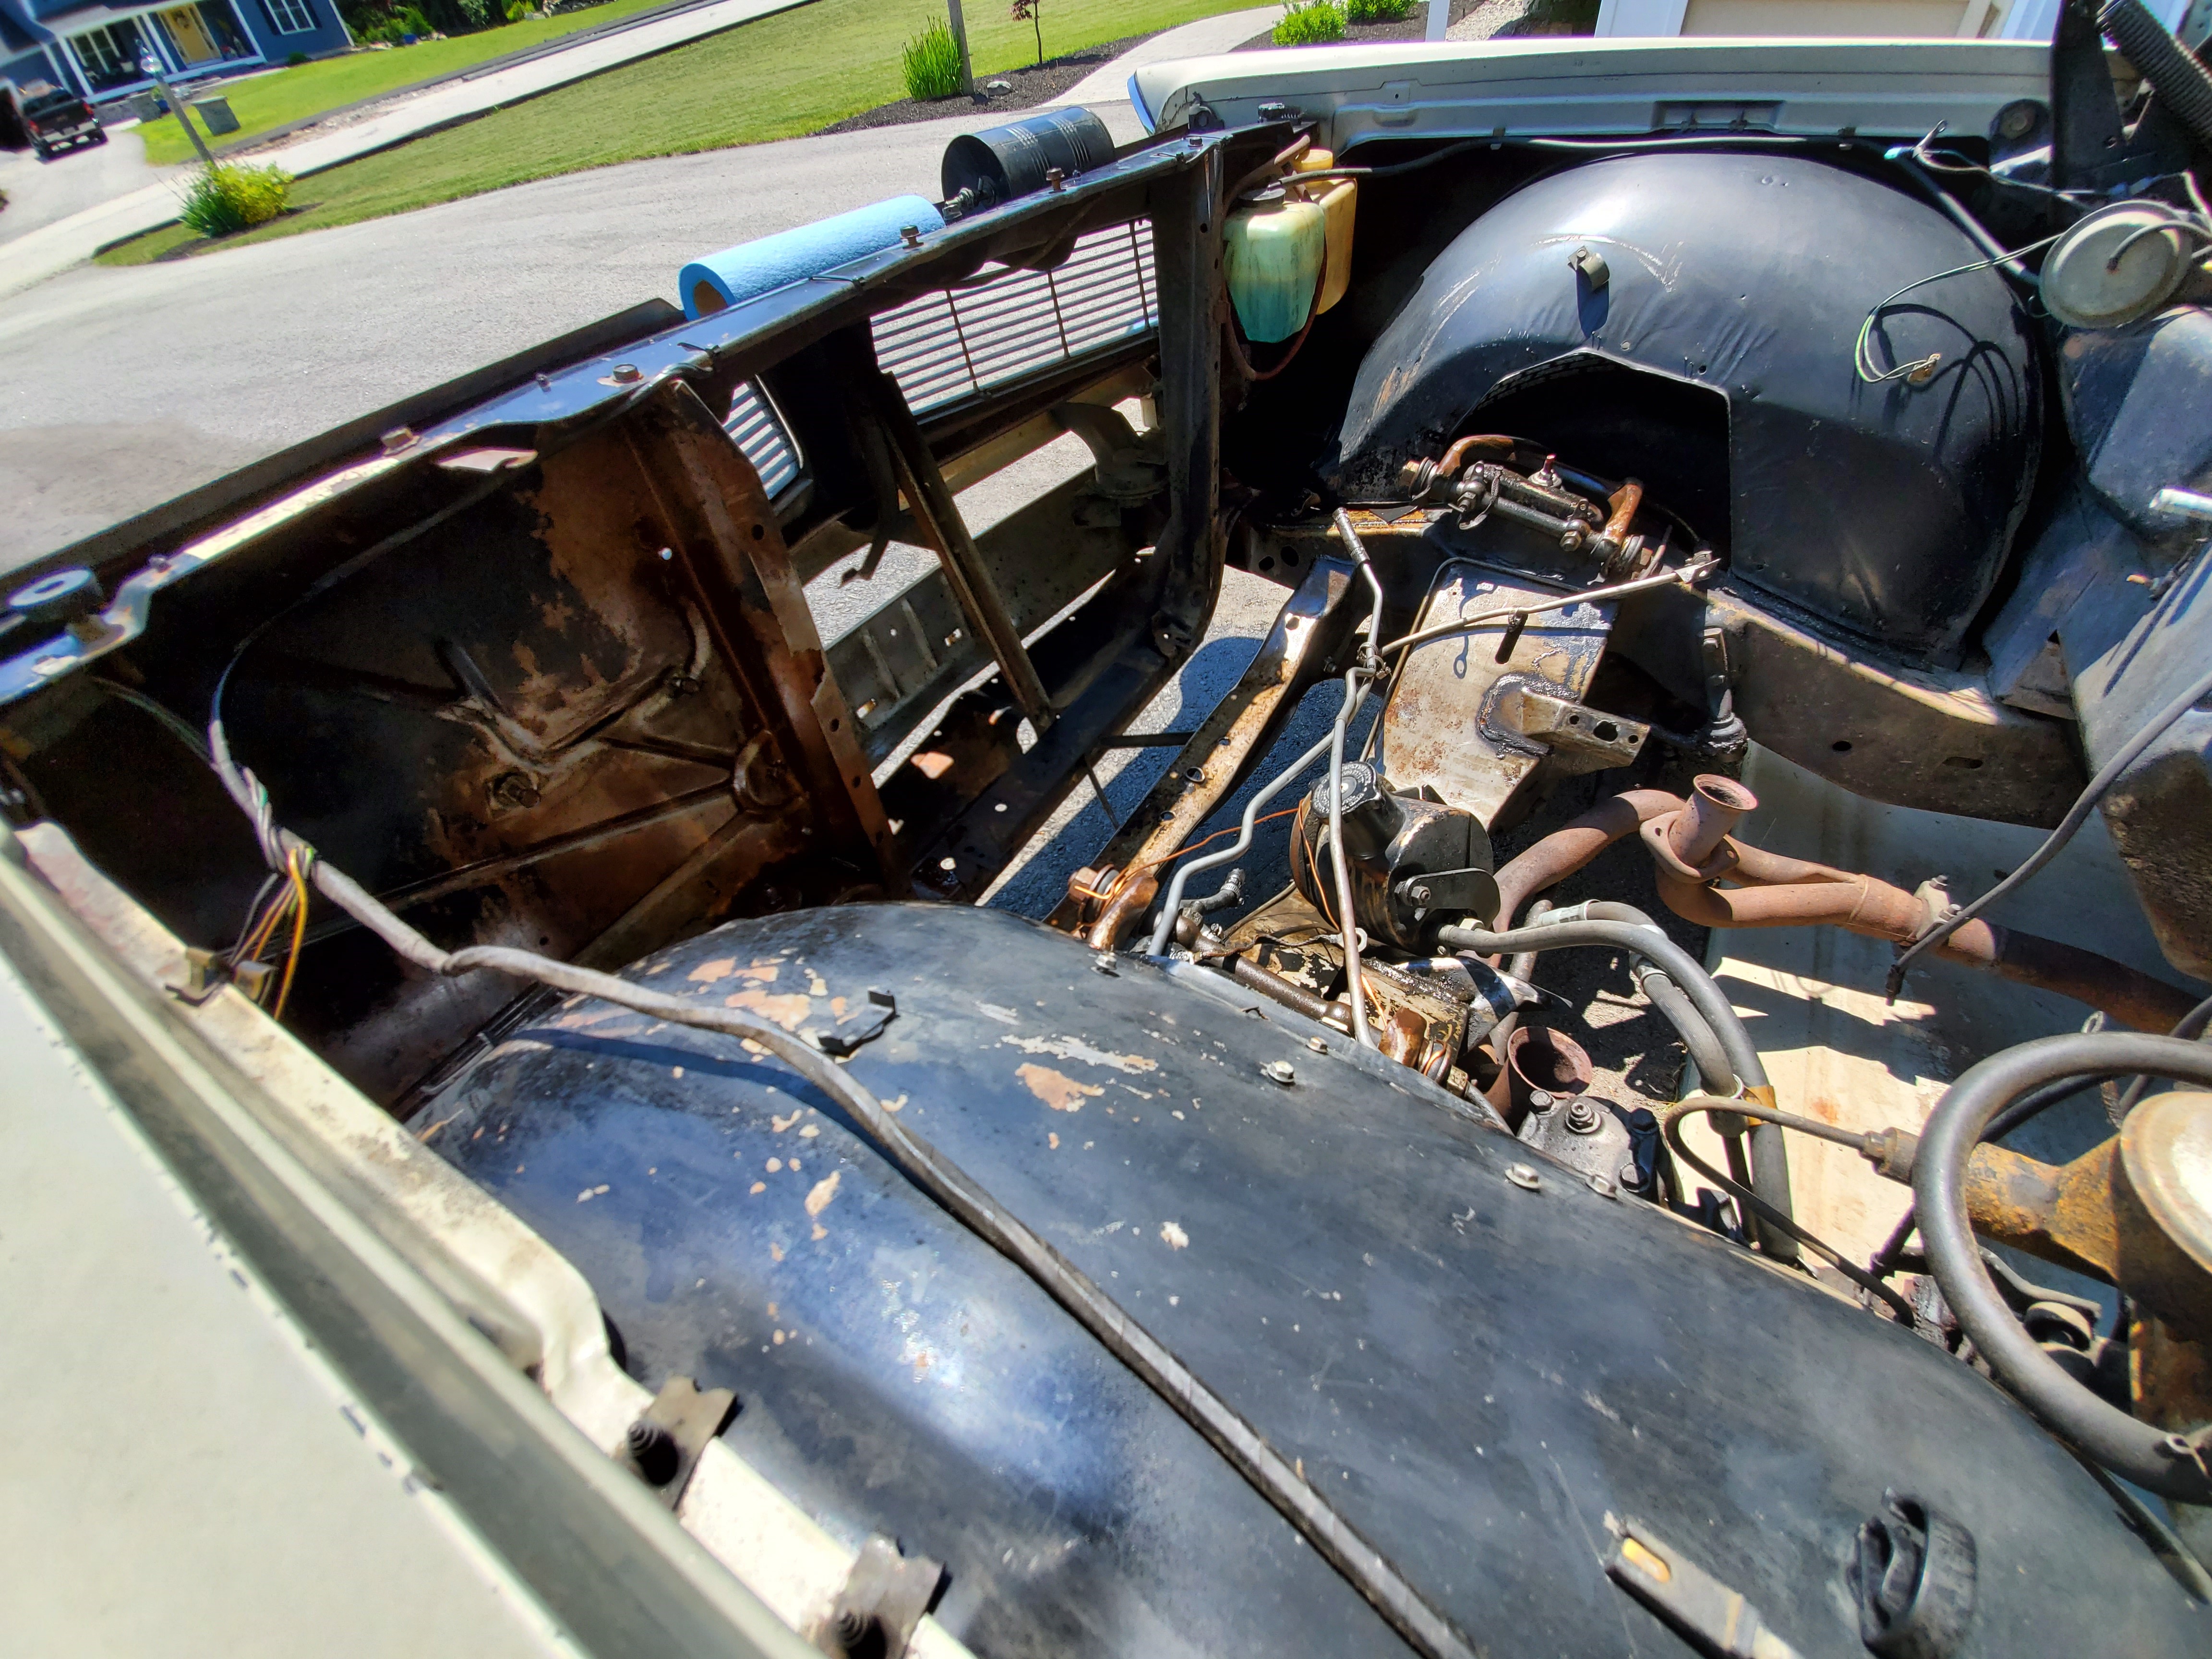
 Here she is last fall in her new home just prior to getting the engine pulled.
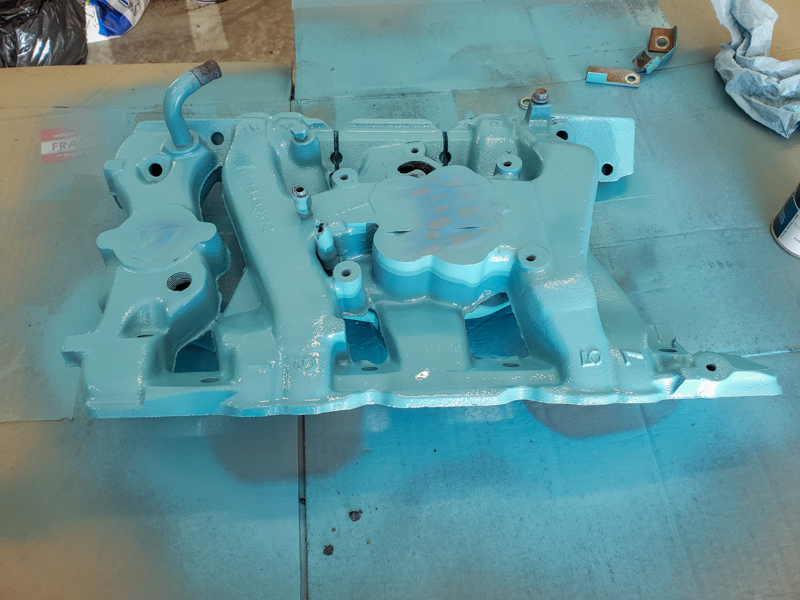
My buddy stopped by for some "Olde Tyme" wrenching and we pulled the motor. The goal is to replace all the crusty old gaskets in the motor and give it fresh coat of paint
in preparation for mating it to the new transmission and nestling them back in their proper location between the fenders.
Tear Down and Inspection
 Here's the 389 freshly scrubbed and back in the garage.
It's still got plenty of gunk to be removed but
this is the result of 3 cans of engine cleaner, 6 rounds of pressure washing and scrubbing with both nylon and brass detailing brushes.
50+ years of road grime and oil tends to stay stuck to things.
 Closer inspection. Here's the valley pan with the intake off, lots of crud that the pressure washer couldn't reach.
Also the first sight which gave me some cause for concern. A couple of the push rod ports around the EGR port were blocked. Not sure what to make of that yet, the plan is to still just clean things up and replace the gaskets.
 Sadly, I only have myself to blame for this.
If I hadn't ignored the engine compartment for so long I probably could have prevented the battery tray from rotting out.
I'll need to patch the core support too.
 On the plus side I managed to find an original replacement tray at Franks Pontiac Parts.
It's a little pitted but it's all there and solid. Notice anything missing on the old one?
Nobody reproduces this part so it had to come from a donor.
They make them for '64 but not for my '63.
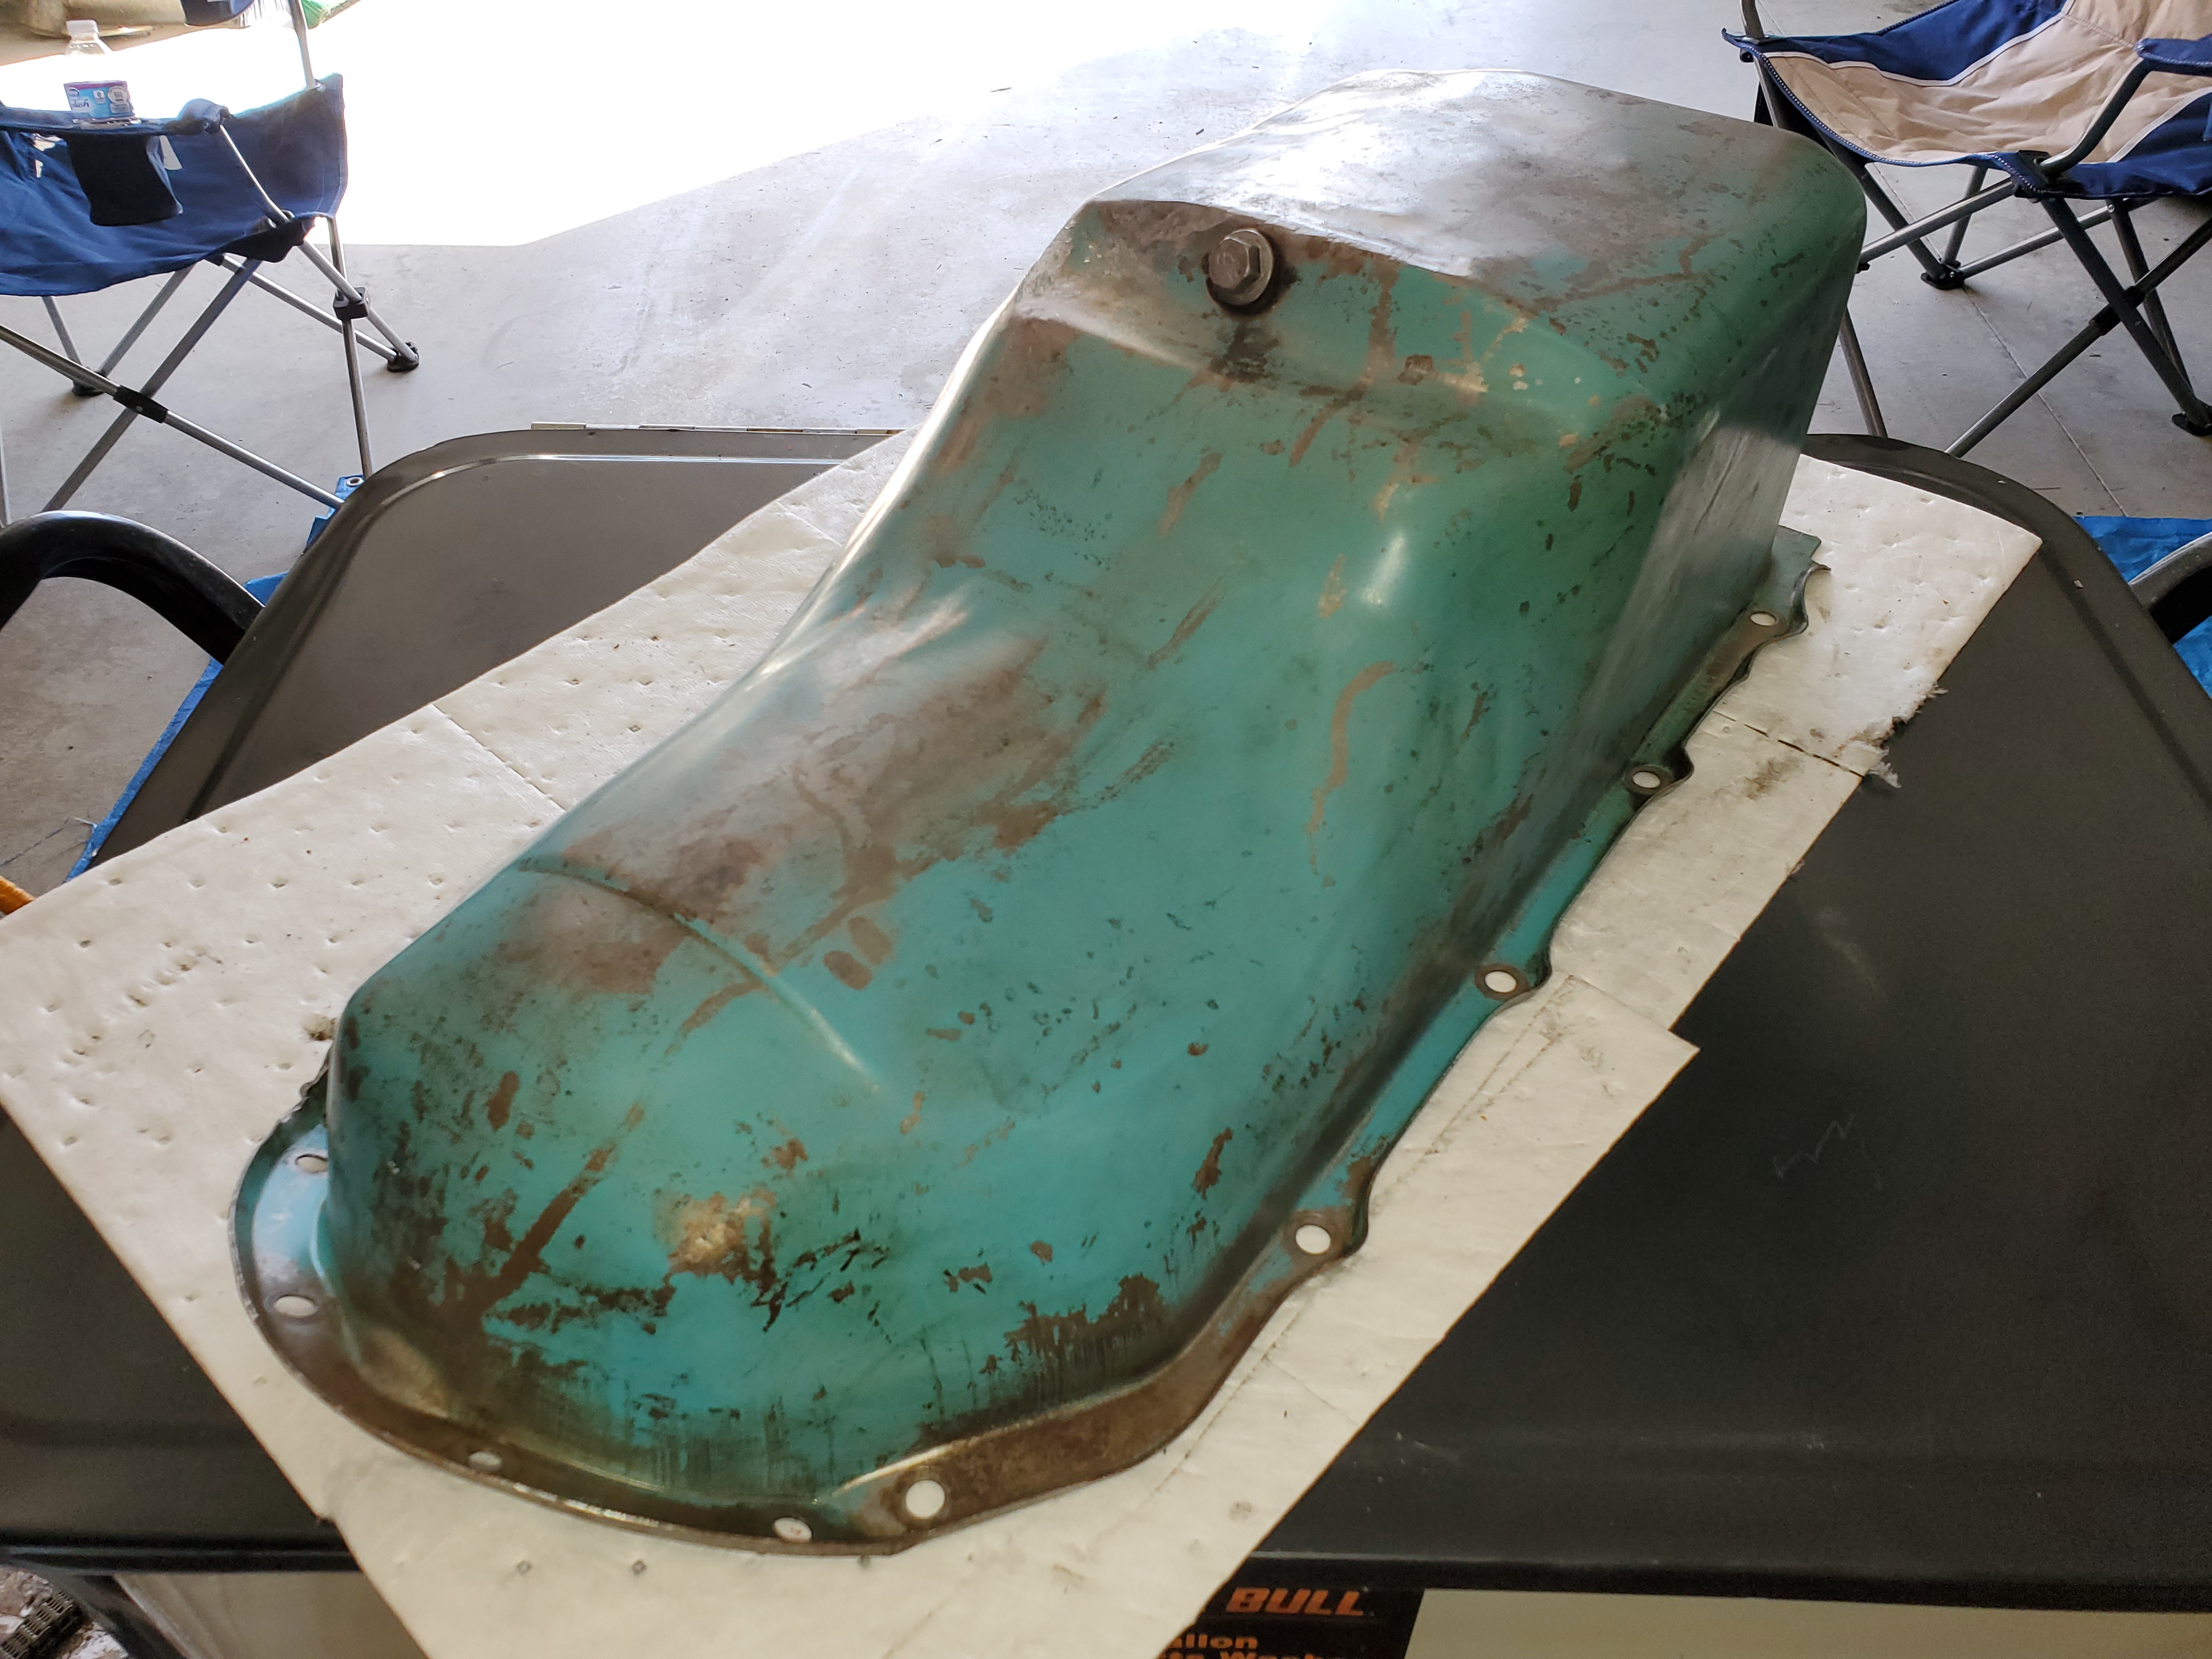
 I've cleaned up the rust and loose paint on the valley pan.
It's now sporting a coat of WD40 to slow the reappearance of surface rust while I work on other things.
 Here's the motor after stripping off the remainder of the accessory brackets and fuel pump.
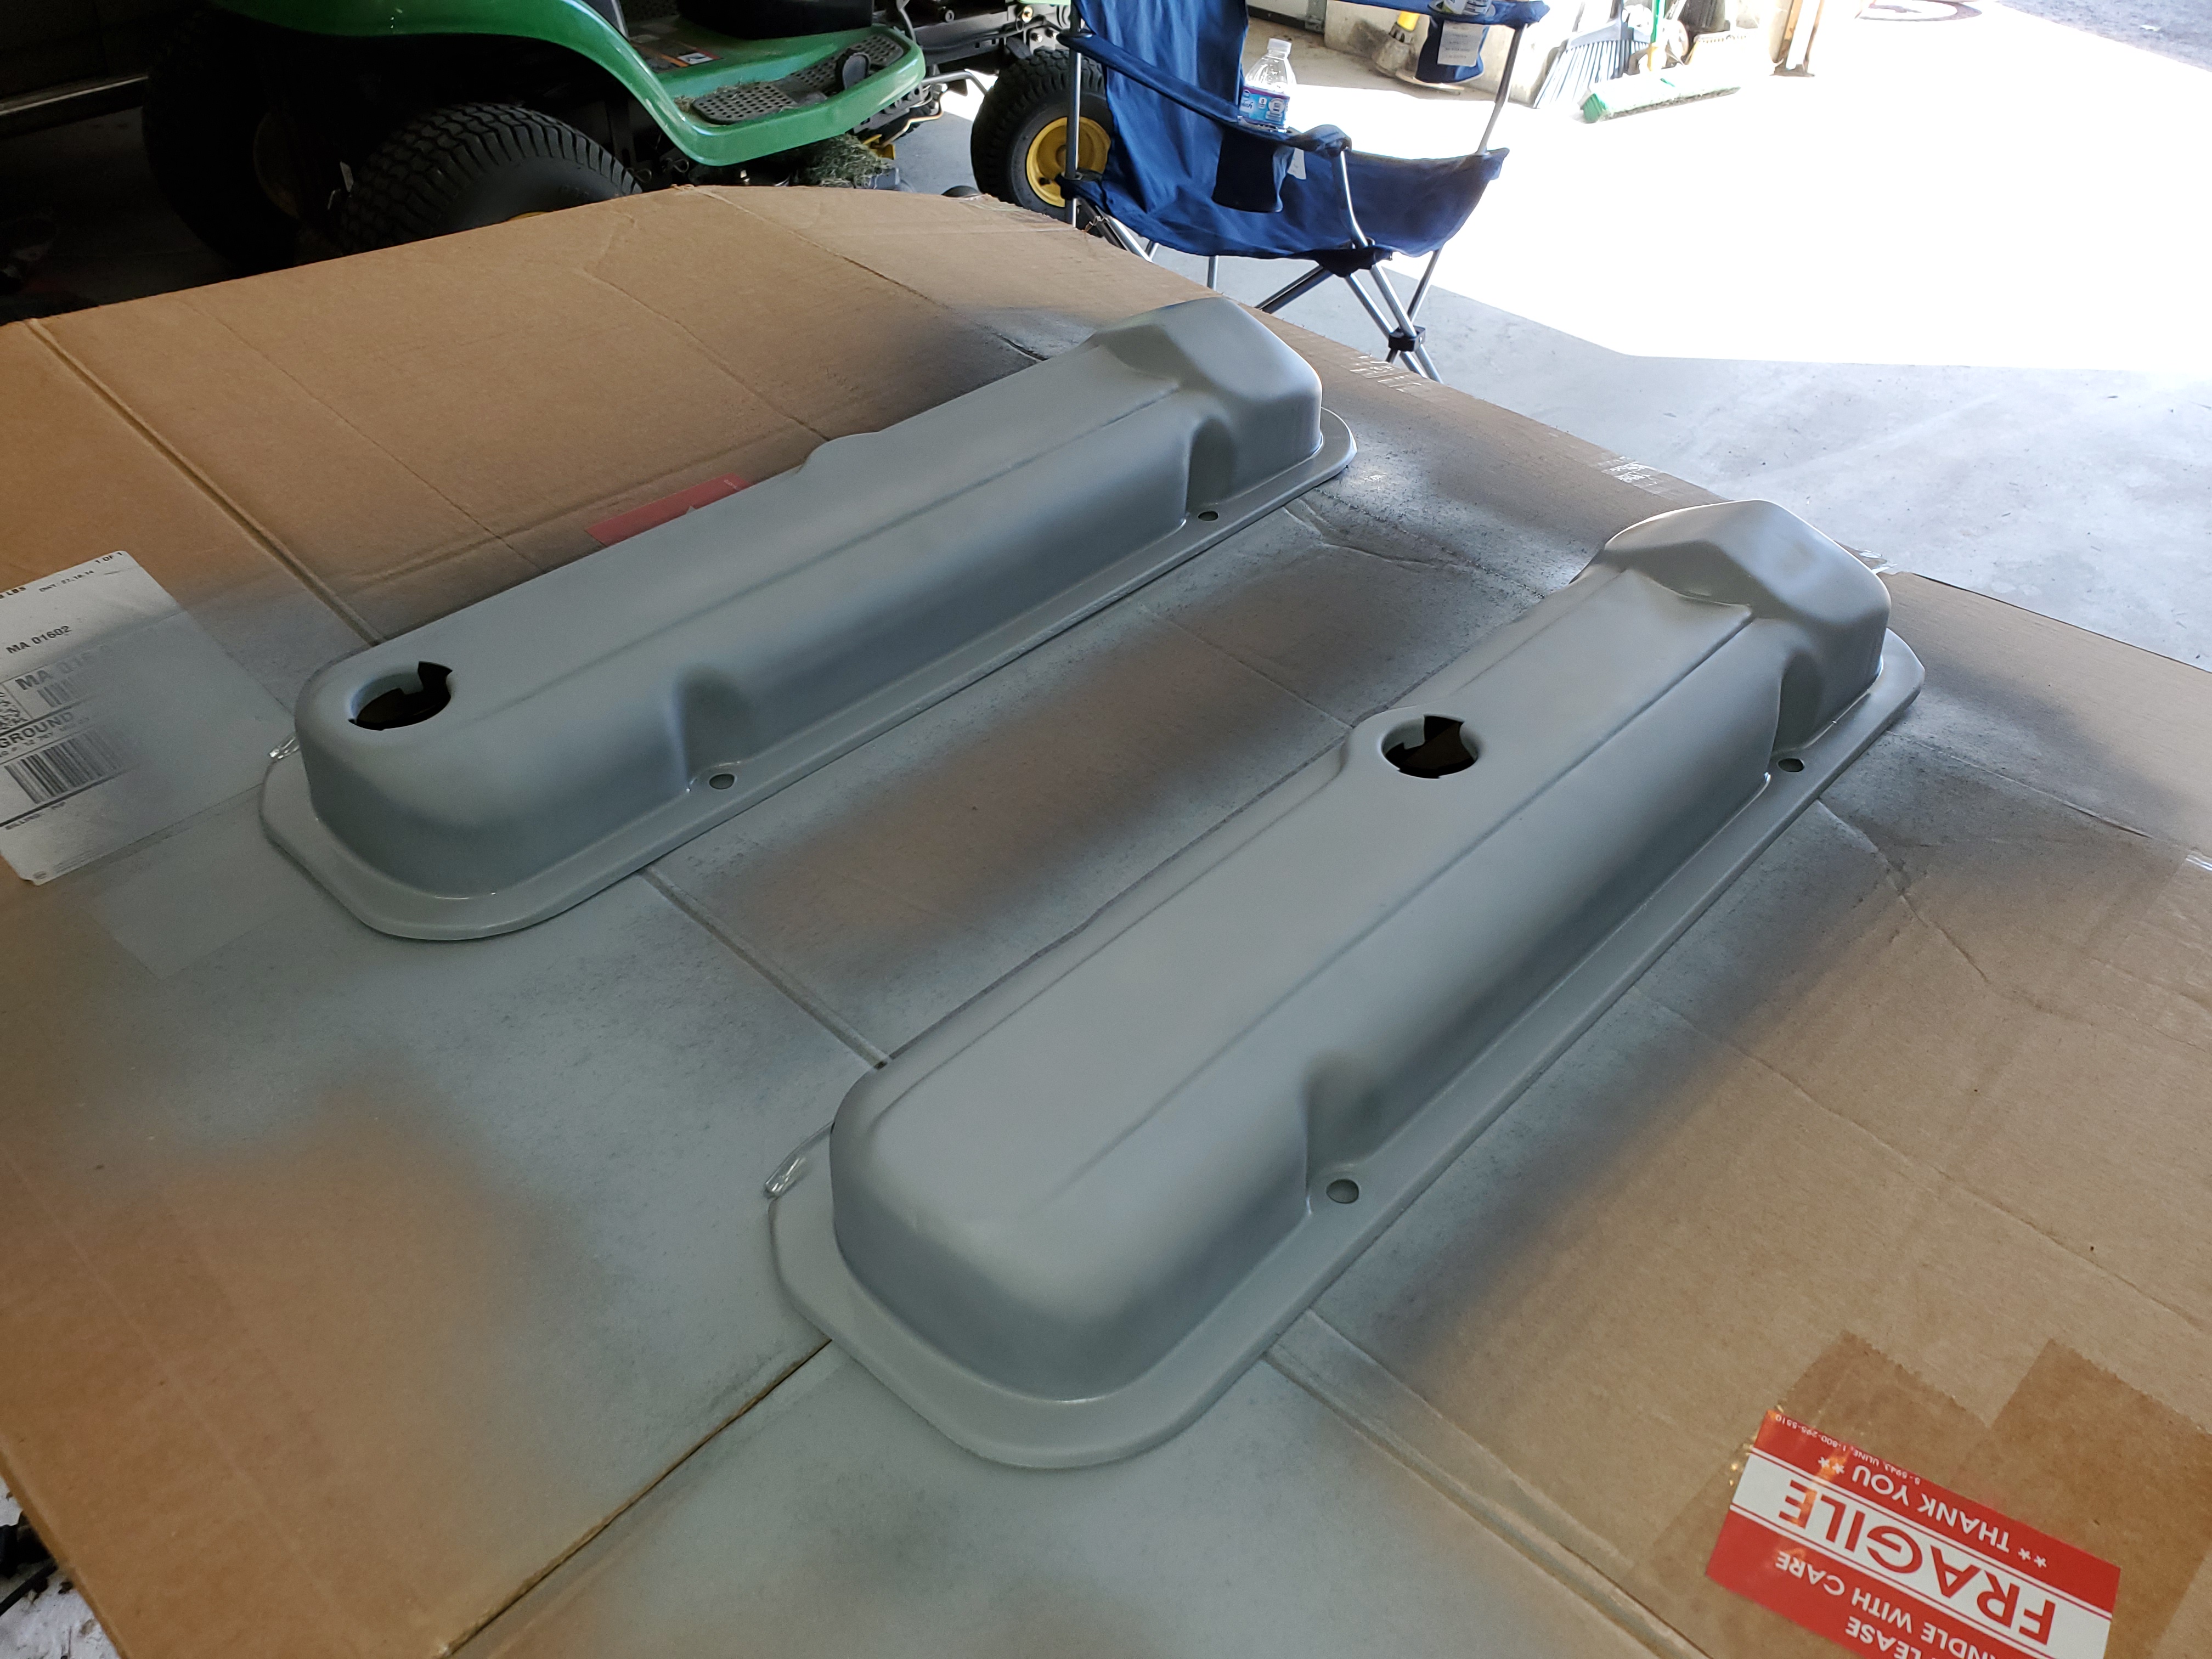
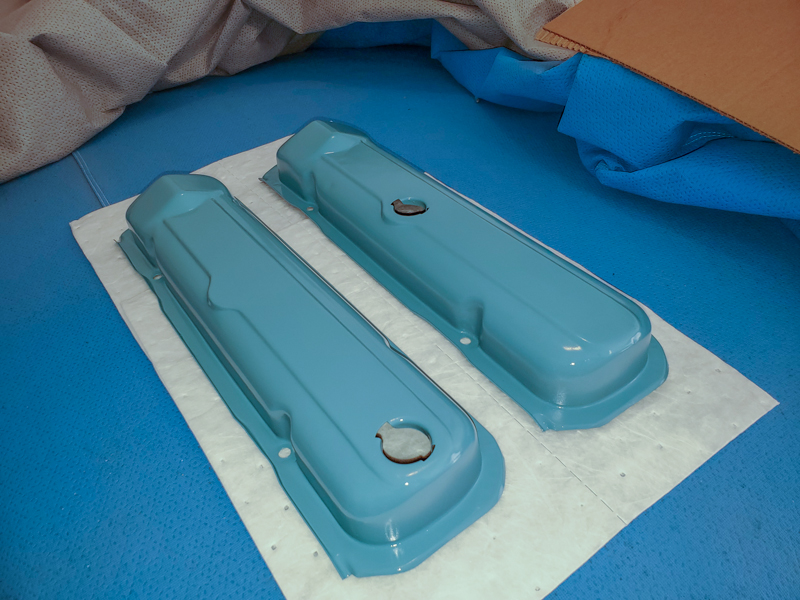
I've taken apart the harmonic balancer. I'll probably replace it with a new one from Butler Performance when the time comes.
 I spent a recent sunny afternoon scrubbing the engine bay with a nylon tire/wheel brush and Simple Green.
It was pretty bad in here, compounded by the mouse urine on the fender wells left by the rodents who'd
previously taken up residence in the hood insulation.
It is also now sporting a coat of WD40 to slow the reappearance of surface rust while I work on other things.
 Some more tear down; just about everything but the heads and timing chain have been removed now. I have tried to remove the heads by now but they are not willing to part with the engine.
The driver's side is just plain glued to the block; the passenger's side has a stubborn head bolt that resisted over 30 minutes of overall impact wrenching. This included applying heat... I've since been letting it sit with liquid wrench.
Some more tear down; just about everything but the heads and timing chain have been removed now. I have tried to remove the heads by now but they are not willing to part with the engine.
The driver's side is just plain glued to the block; the passenger's side has a stubborn head bolt that resisted over 30 minutes of overall impact wrenching. This included applying heat... I've since been letting it sit with liquid wrench.
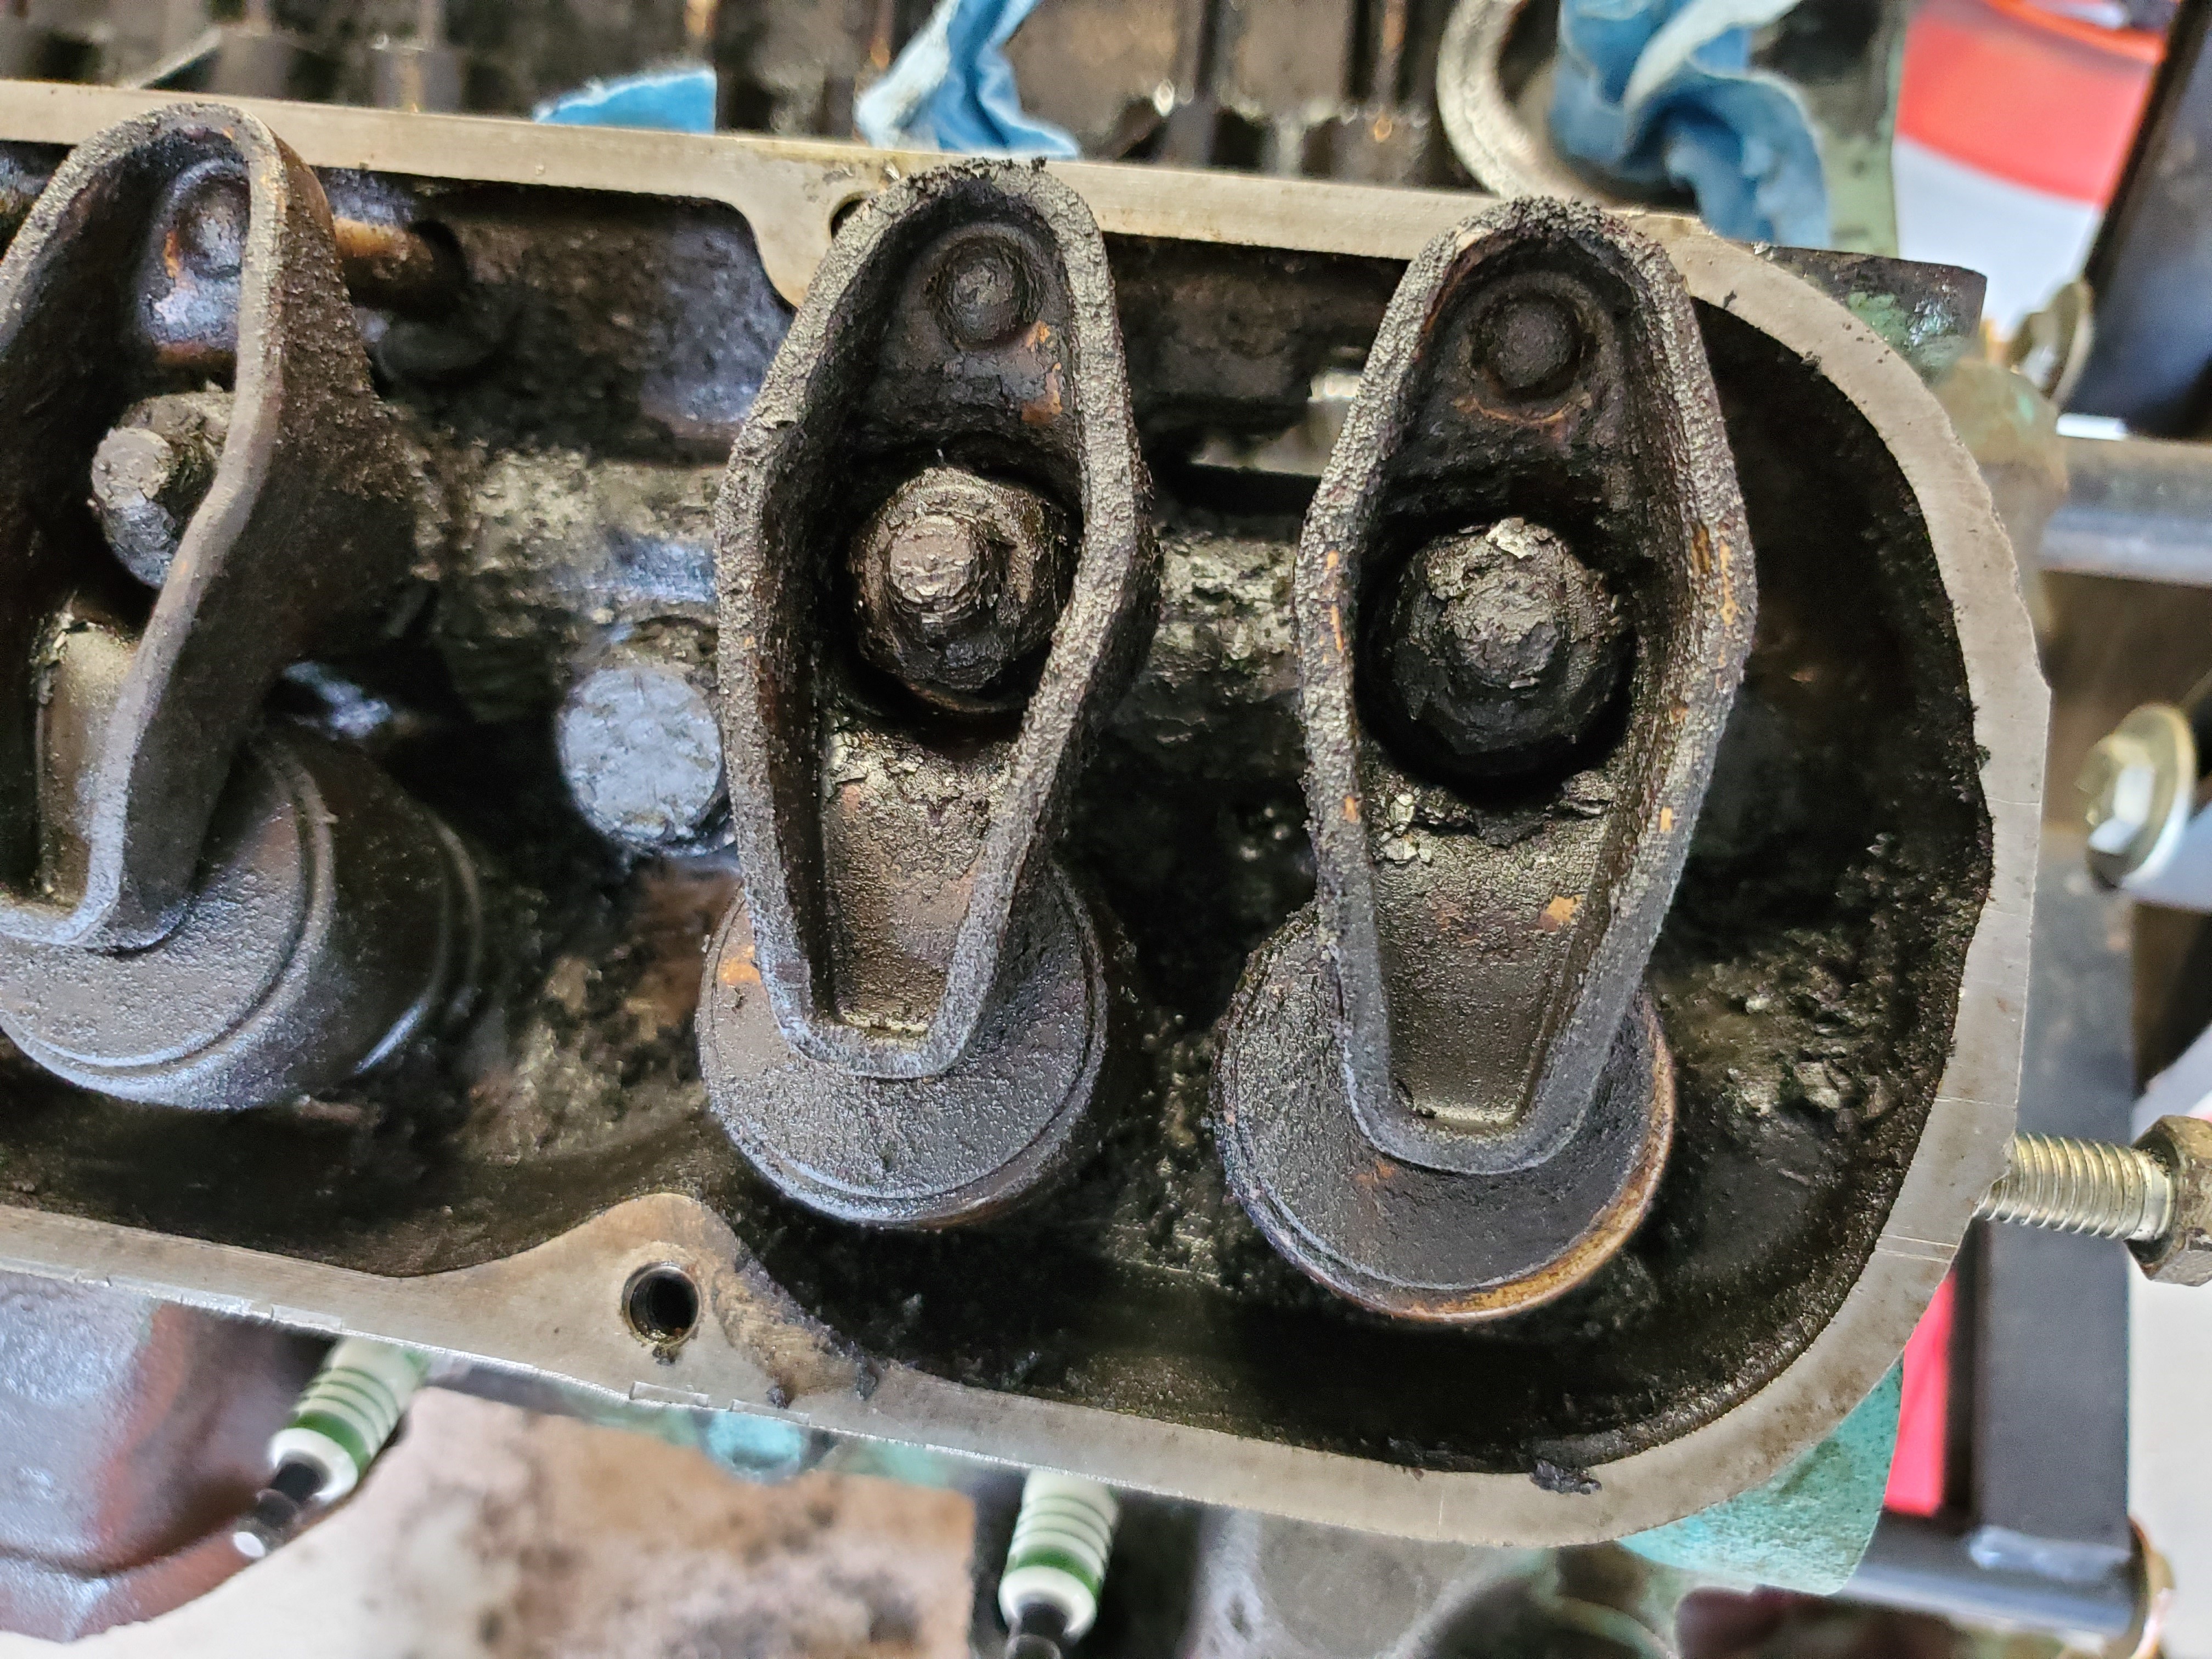 Here's a close-up of the gnarly looking heads. I'm still debating whether to get them professionally rebuilt or just build a budget hot tank and clean them up. While cost is a factor, it's not the primary factor.
If I get them professionally rebuilt I'll likely have them machine the heads for better valve seals and install hardened exhaust seats. A more efficient valve profile is a given.
Here's a close-up of the gnarly looking heads. I'm still debating whether to get them professionally rebuilt or just build a budget hot tank and clean them up. While cost is a factor, it's not the primary factor.
If I get them professionally rebuilt I'll likely have them machine the heads for better valve seals and install hardened exhaust seats. A more efficient valve profile is a given.
 Finally got the heads off. Stupid is as stupid does. The "frozen" head had a head bolt I'd missed last session, once loosened the head popped right off. Funny how that works.
The last bolt on the passenger side head required a little more persuasion. In the form of a 1/2" breaker bar and a 48" jack handle. I was terrified of snapping it off in the block but it was just a bit of rust right at the neck of the bolt keeping it from budging.
Finally got the heads off. Stupid is as stupid does. The "frozen" head had a head bolt I'd missed last session, once loosened the head popped right off. Funny how that works.
The last bolt on the passenger side head required a little more persuasion. In the form of a 1/2" breaker bar and a 48" jack handle. I was terrified of snapping it off in the block but it was just a bit of rust right at the neck of the bolt keeping it from budging.
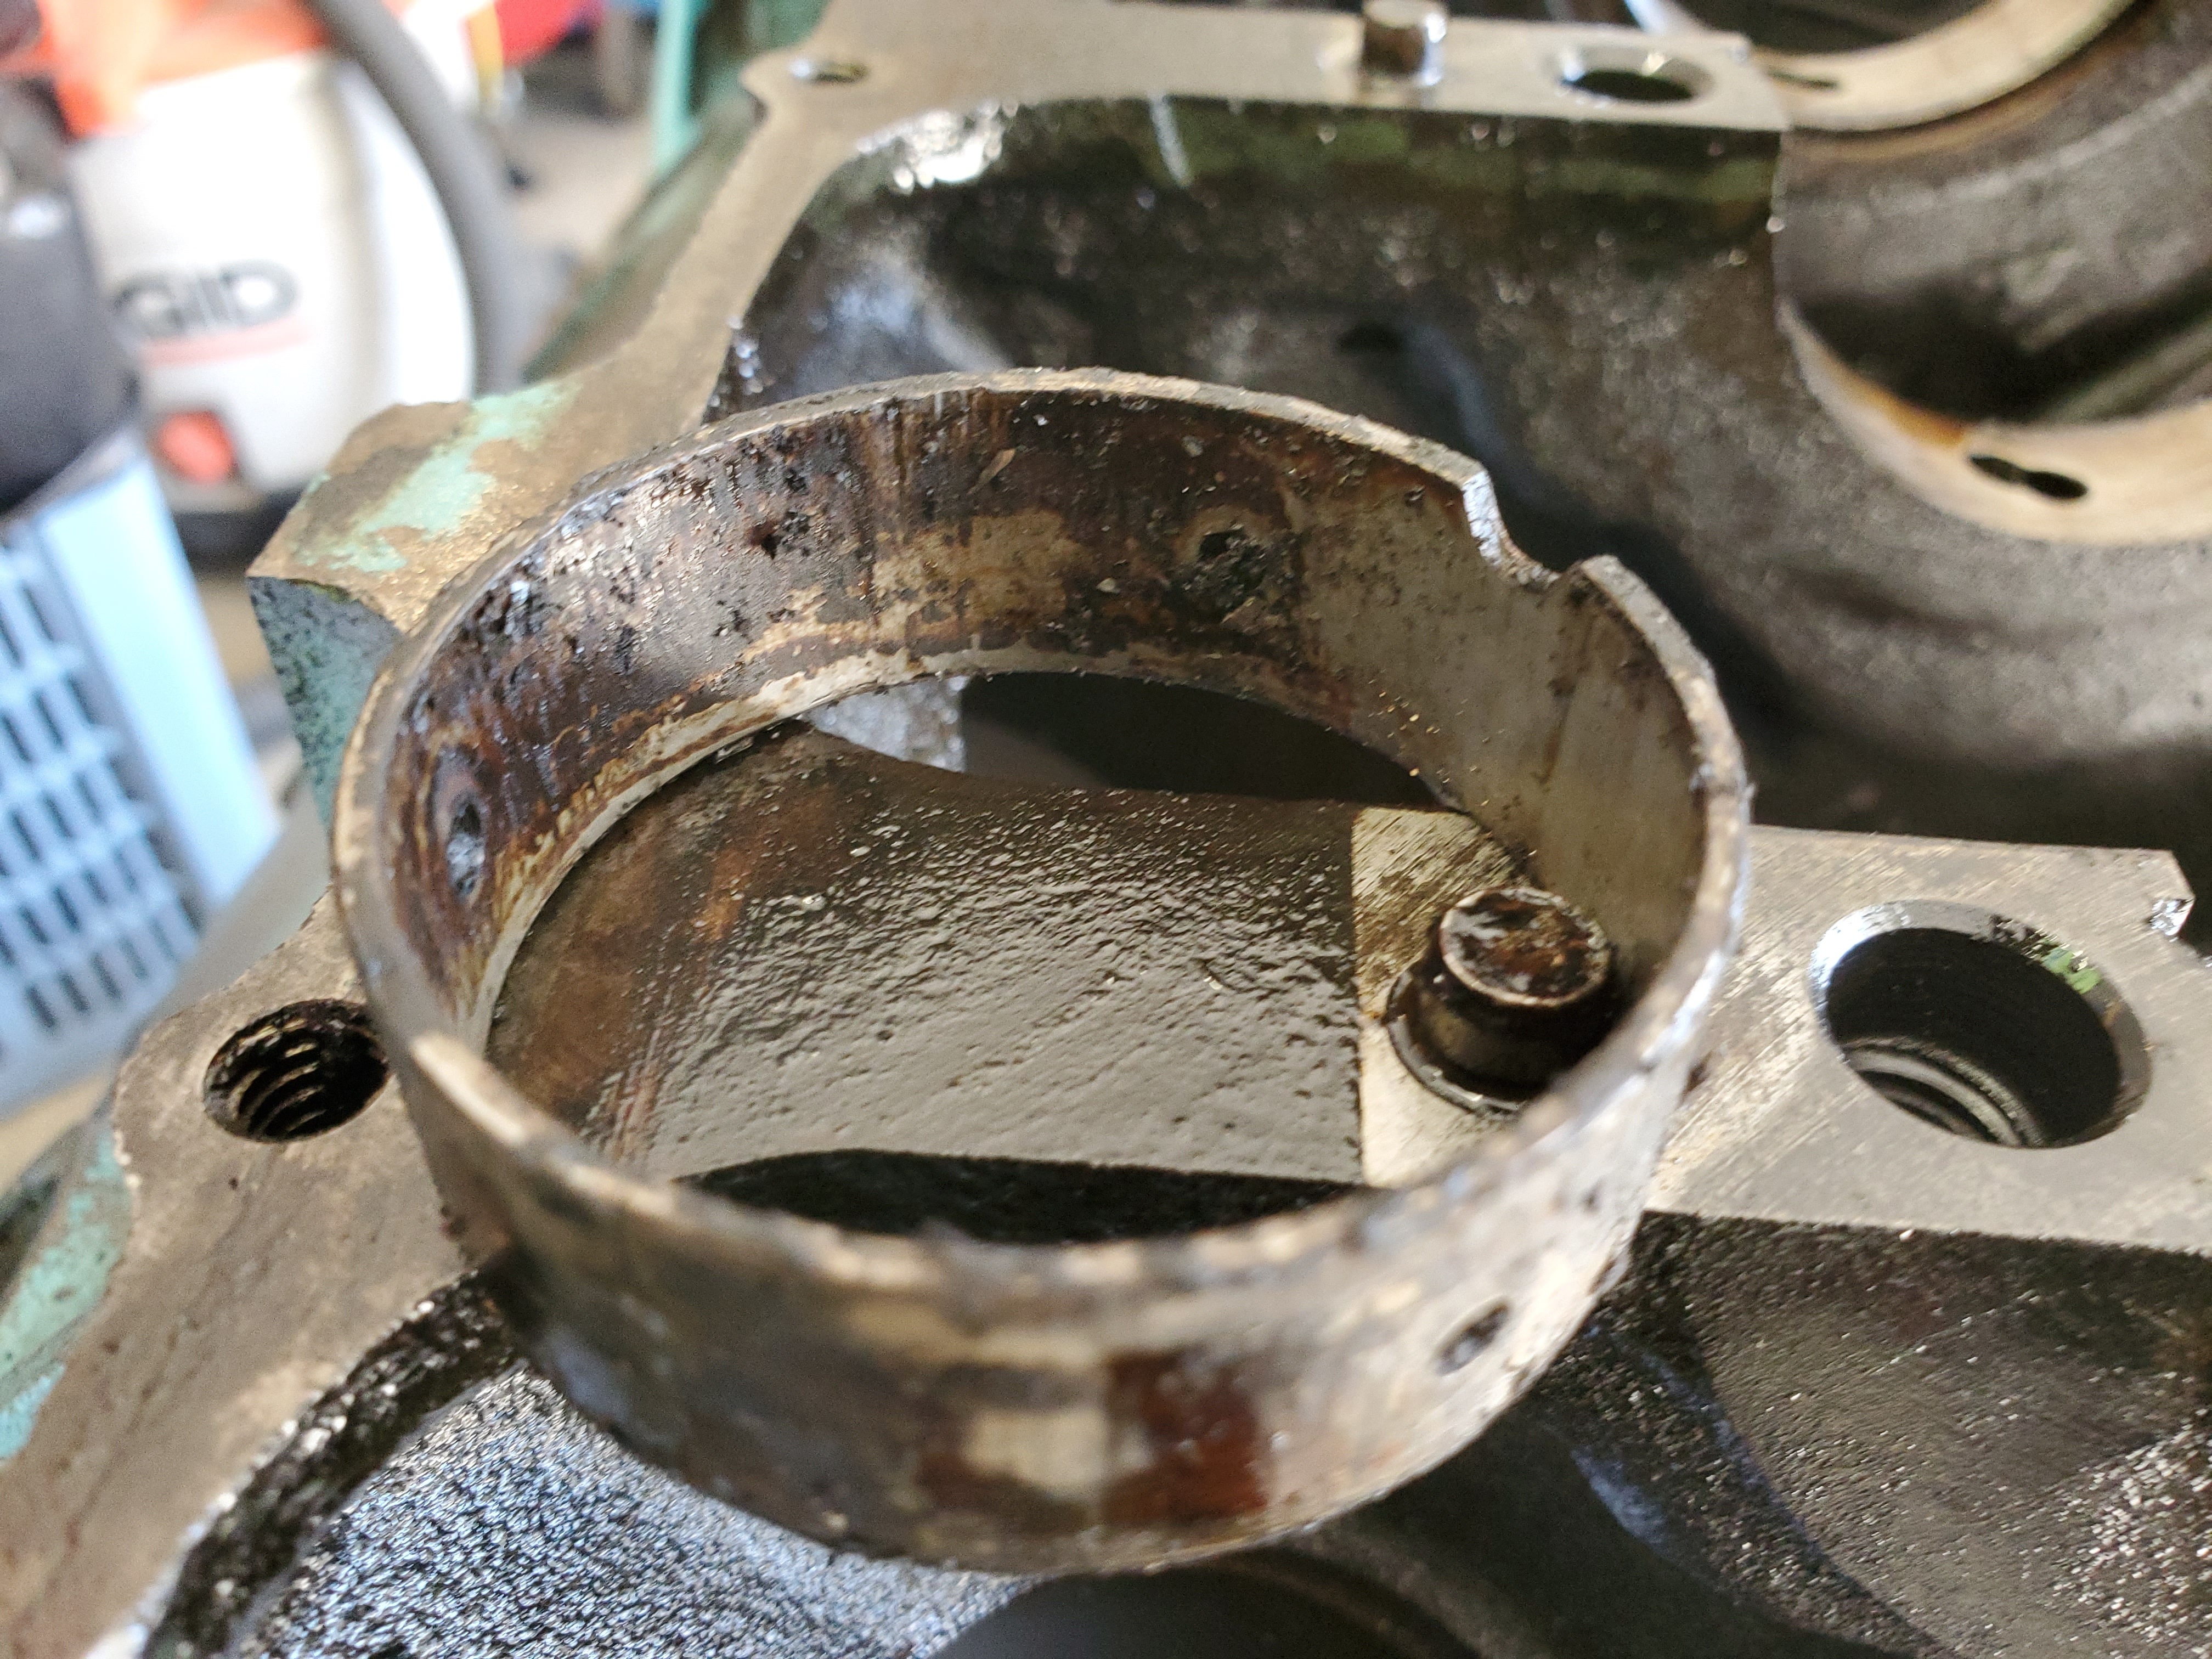
 If the heads didn't look so gnarly, I'd say the one thing on the engine that looks particularly nasty is the lifter valley. I'm now thinking about replacing the lifters, I'm afraid they won't pump up at this point.
And if I do that I might as well replace the cam and the pushrods too.
If the heads didn't look so gnarly, I'd say the one thing on the engine that looks particularly nasty is the lifter valley. I'm now thinking about replacing the lifters, I'm afraid they won't pump up at this point.
And if I do that I might as well replace the cam and the pushrods too.
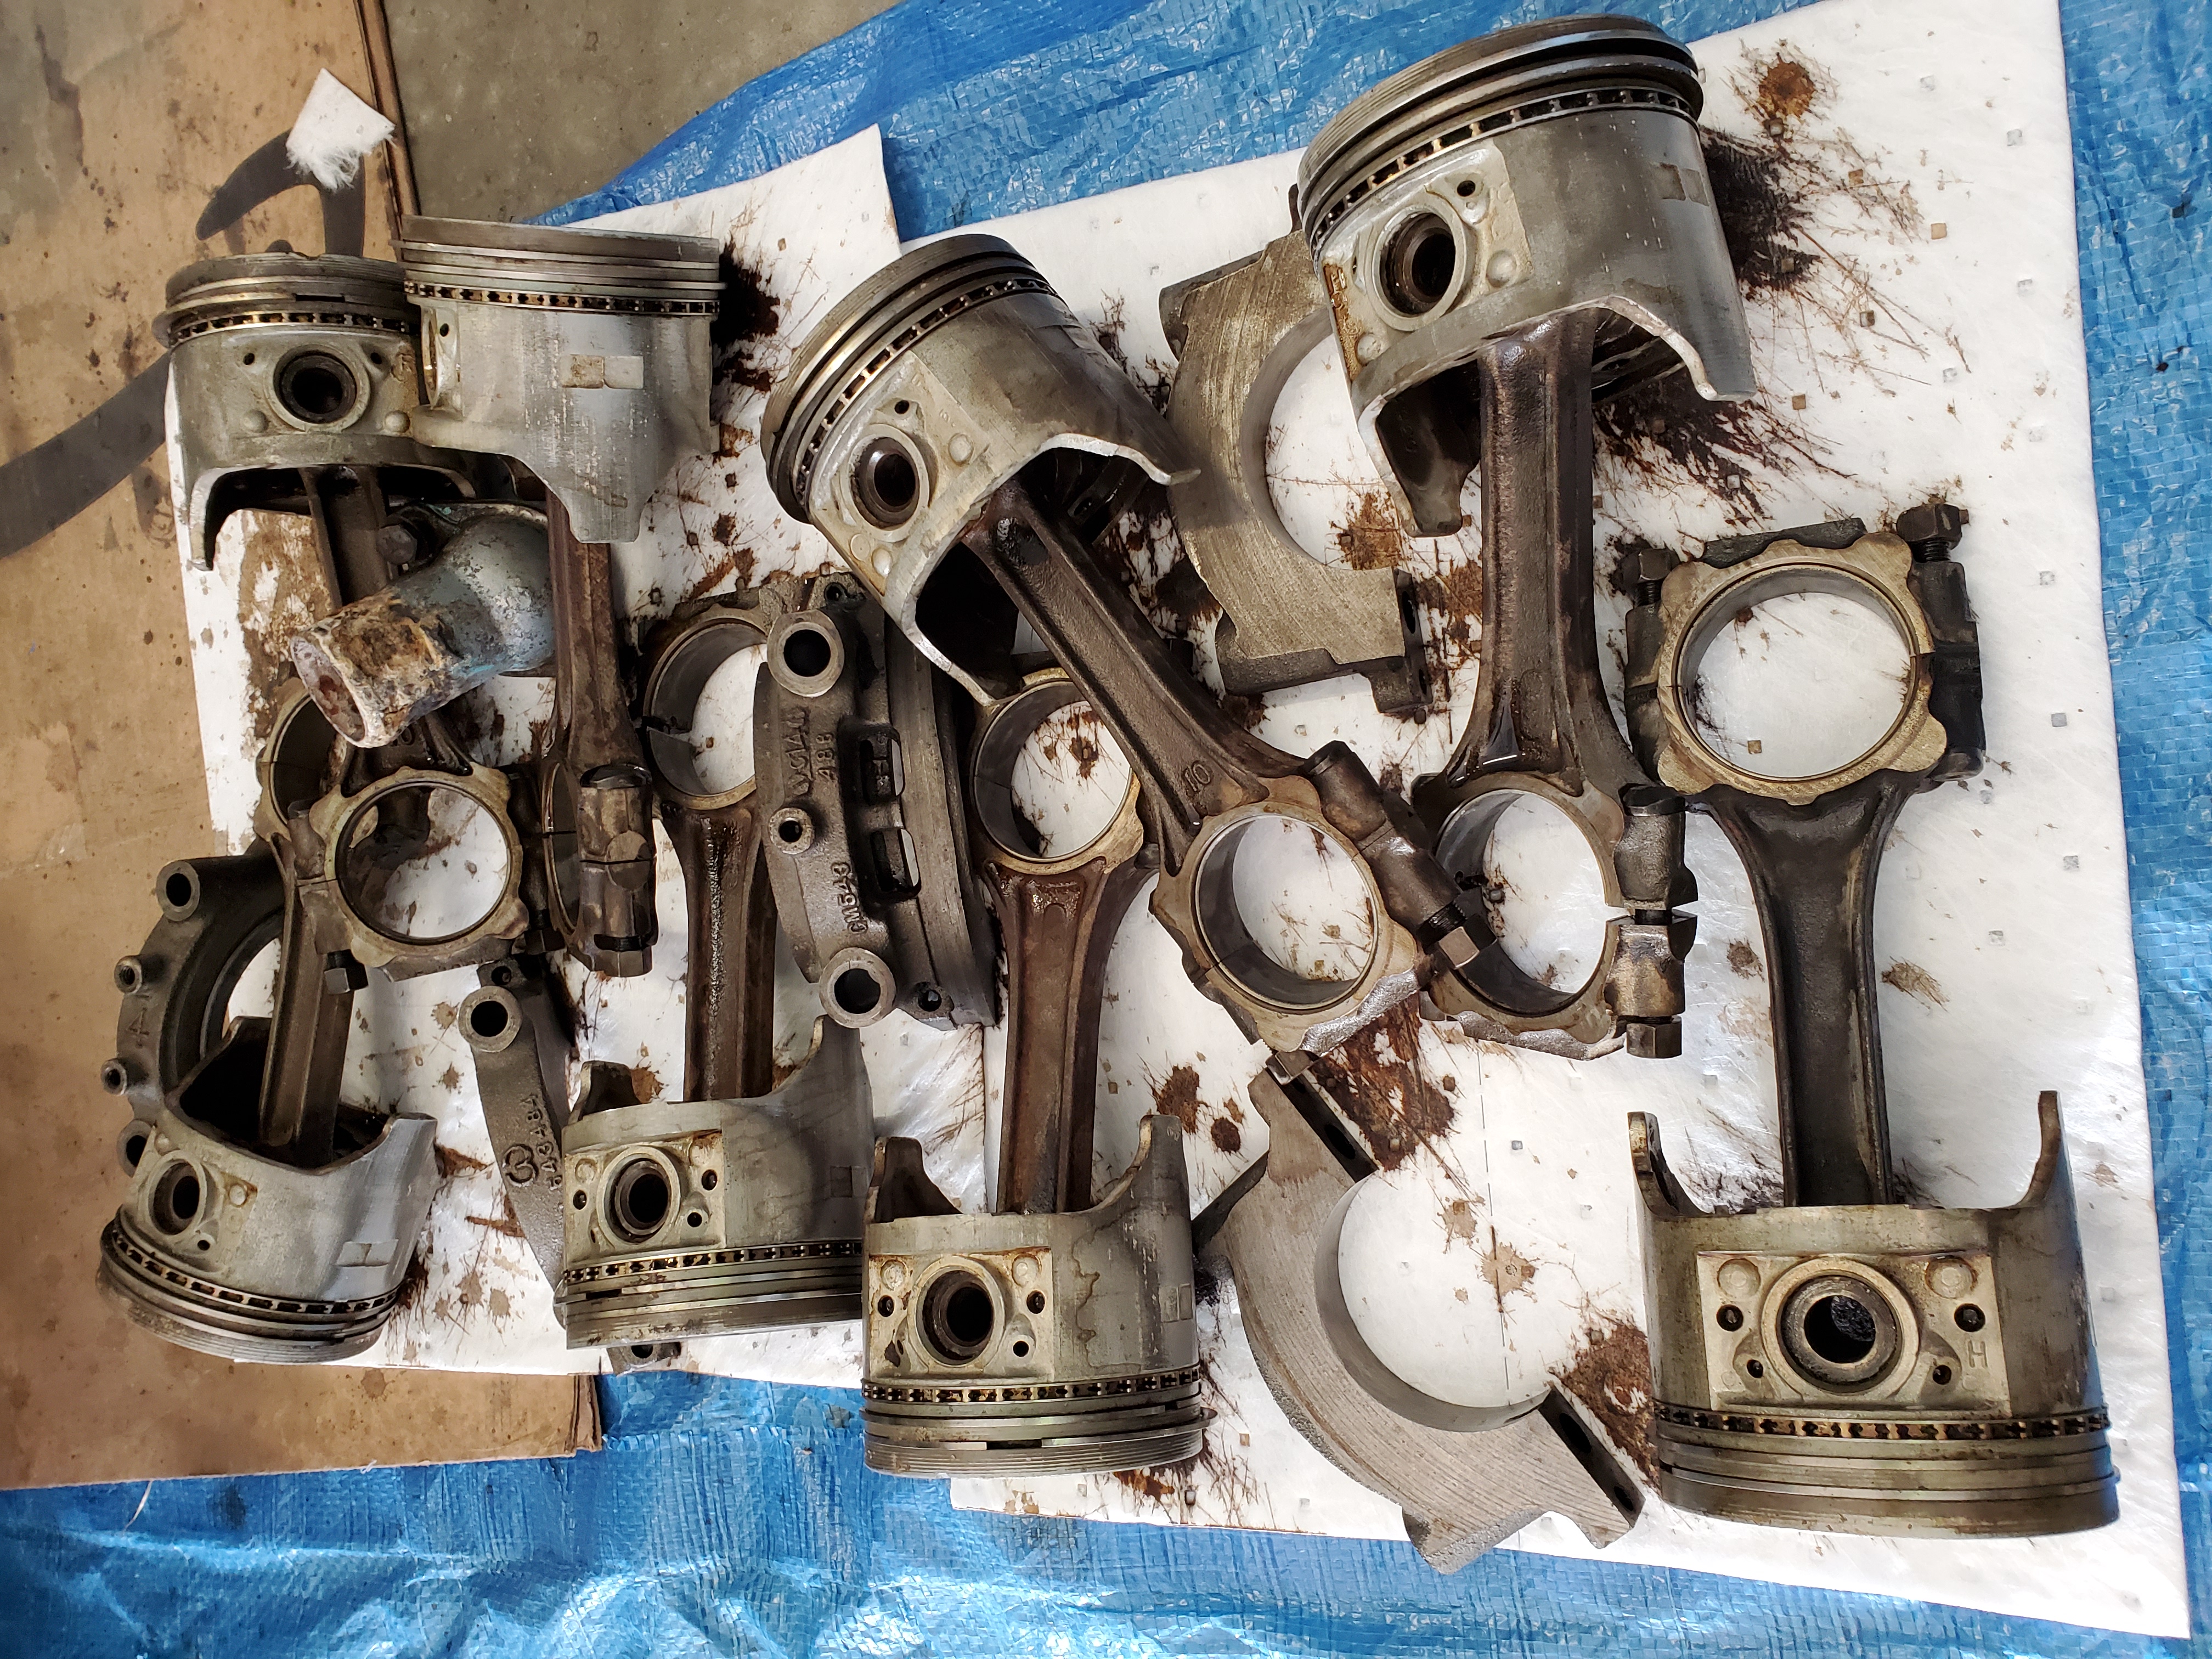
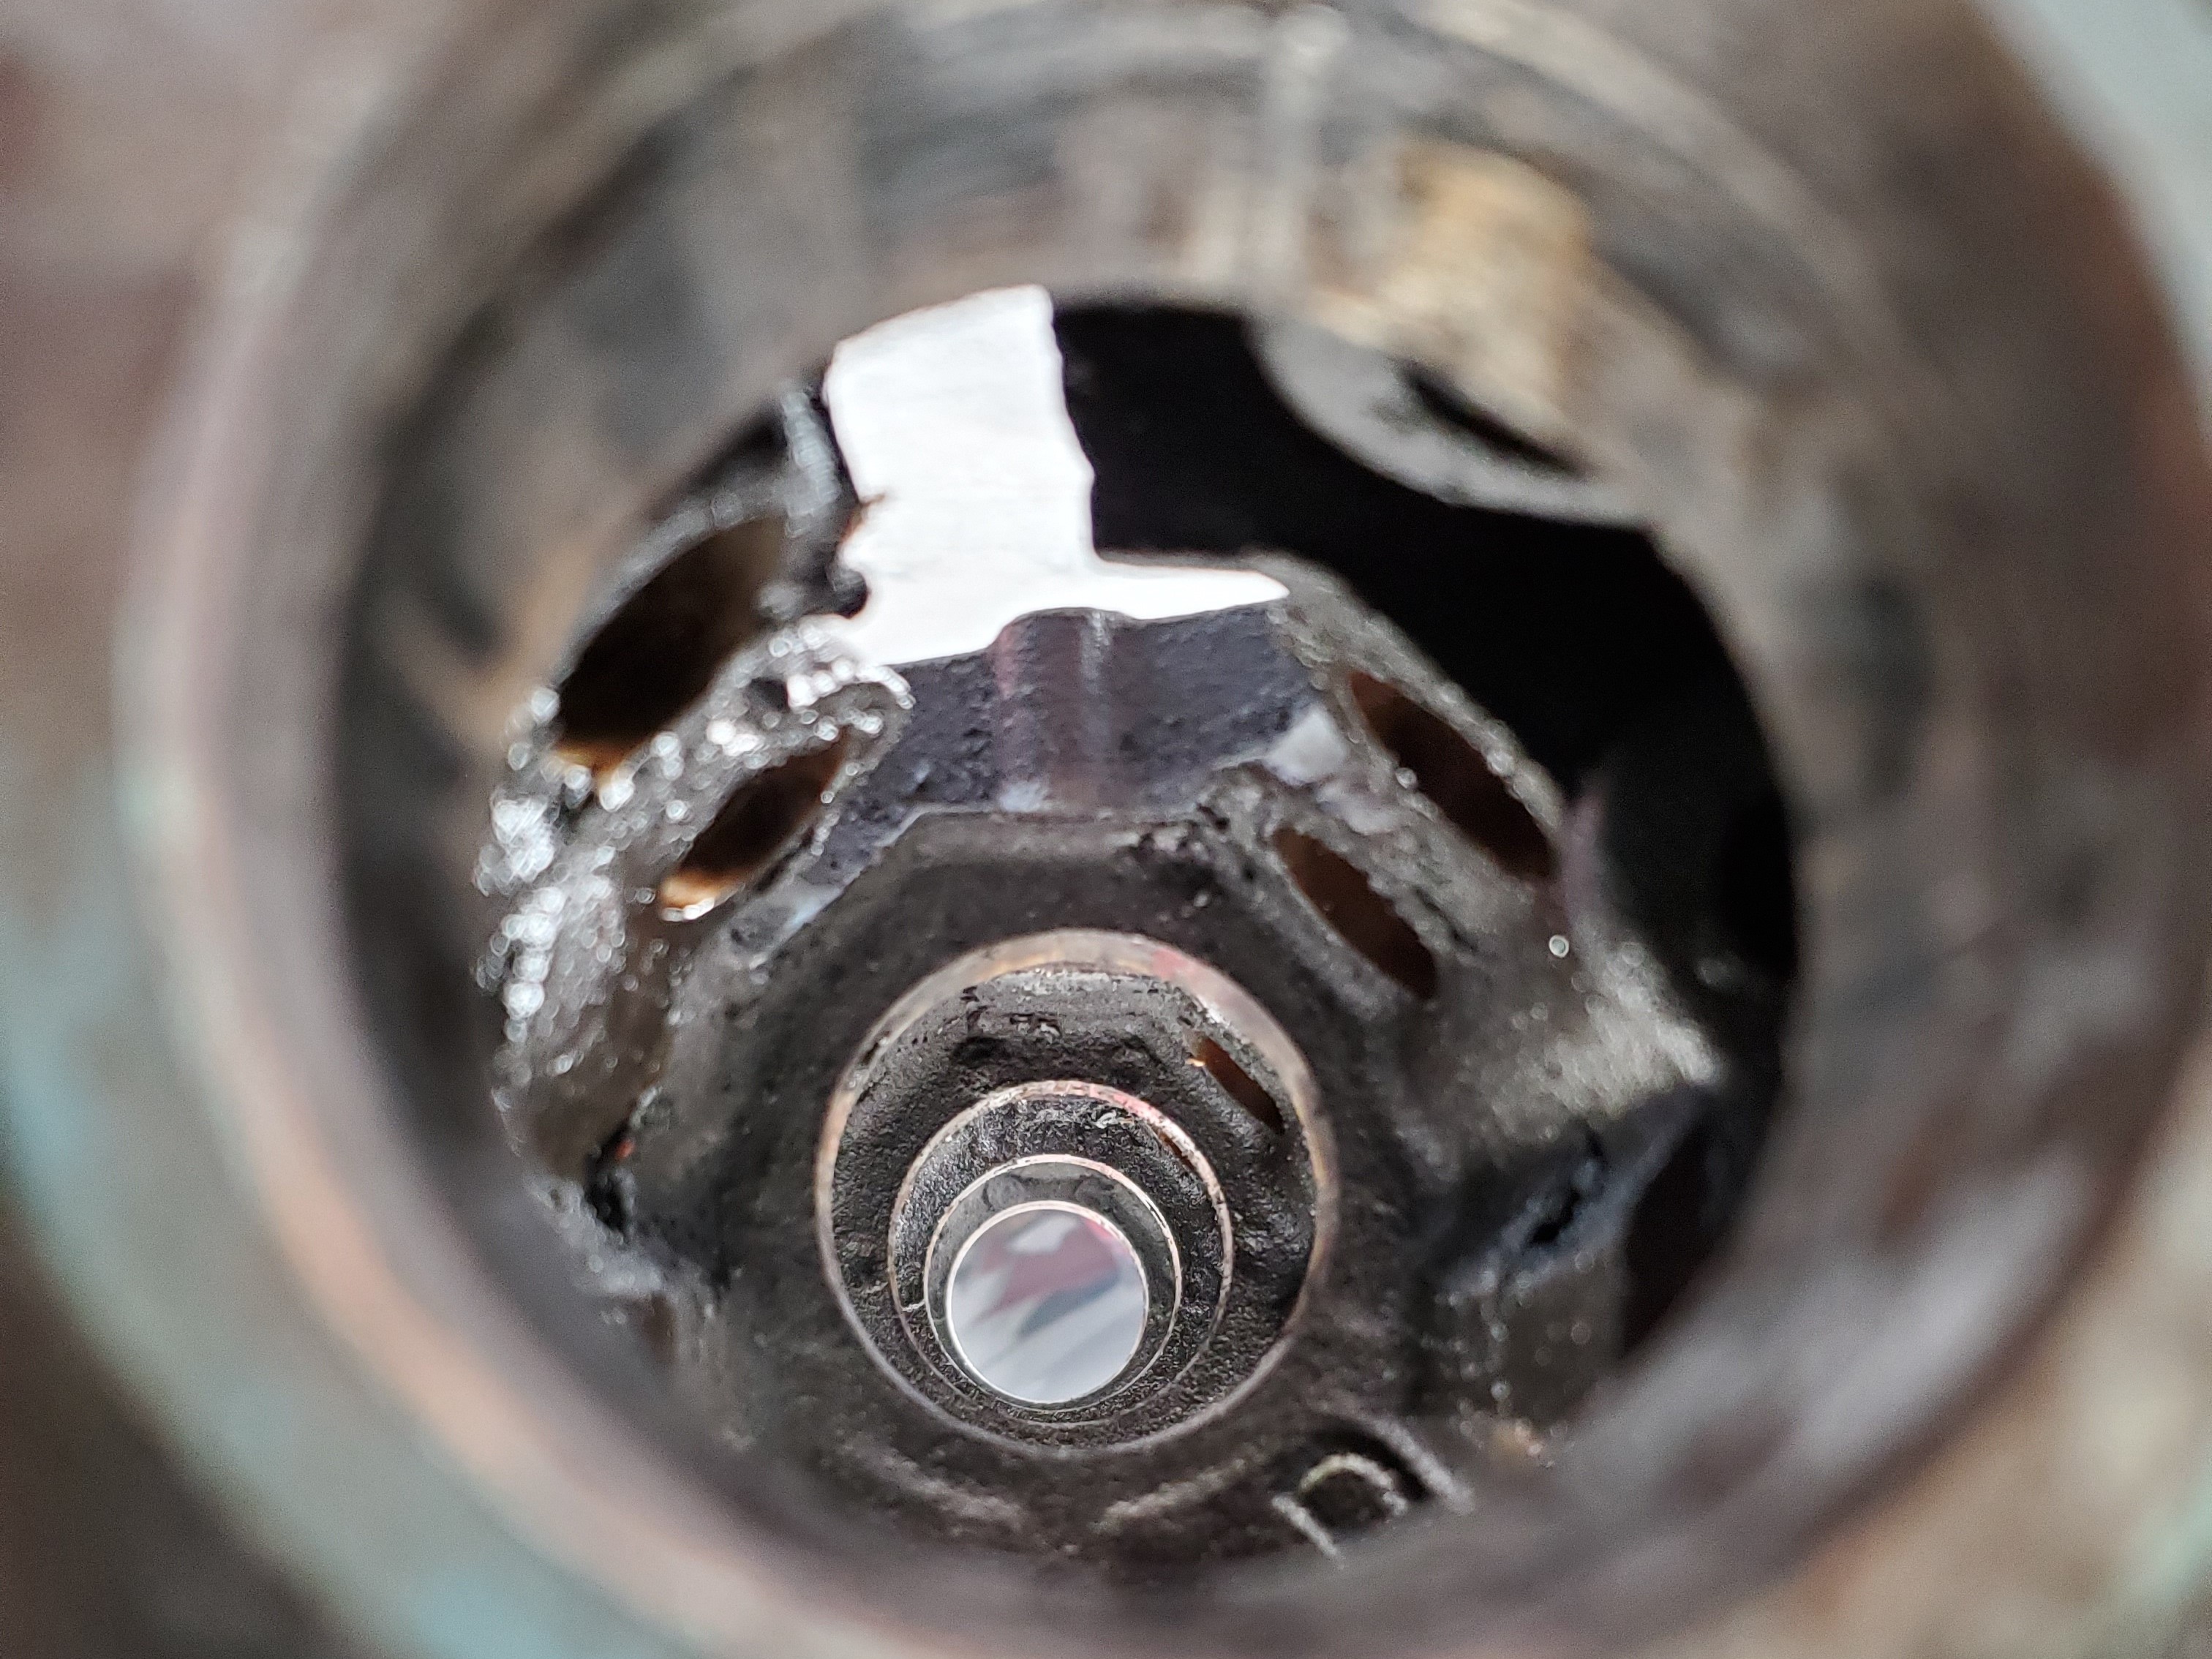
 On the plus side, aside from some schmutz on top of the pistons, the cylinders themselves look fine and everything's been rotating with no issues. I think the rest of the bottom end will be OK.
 So, I've got just about everything off the short block now. I spent a while scrubbing this side of the block with Simple Green and a brass detailing brush. Needless to say, it's tedious work.
I've still got to attack the other side but things are cleaning up.
So, I've got just about everything off the short block now. I spent a while scrubbing this side of the block with Simple Green and a brass detailing brush. Needless to say, it's tedious work.
I've still got to attack the other side but things are cleaning up.
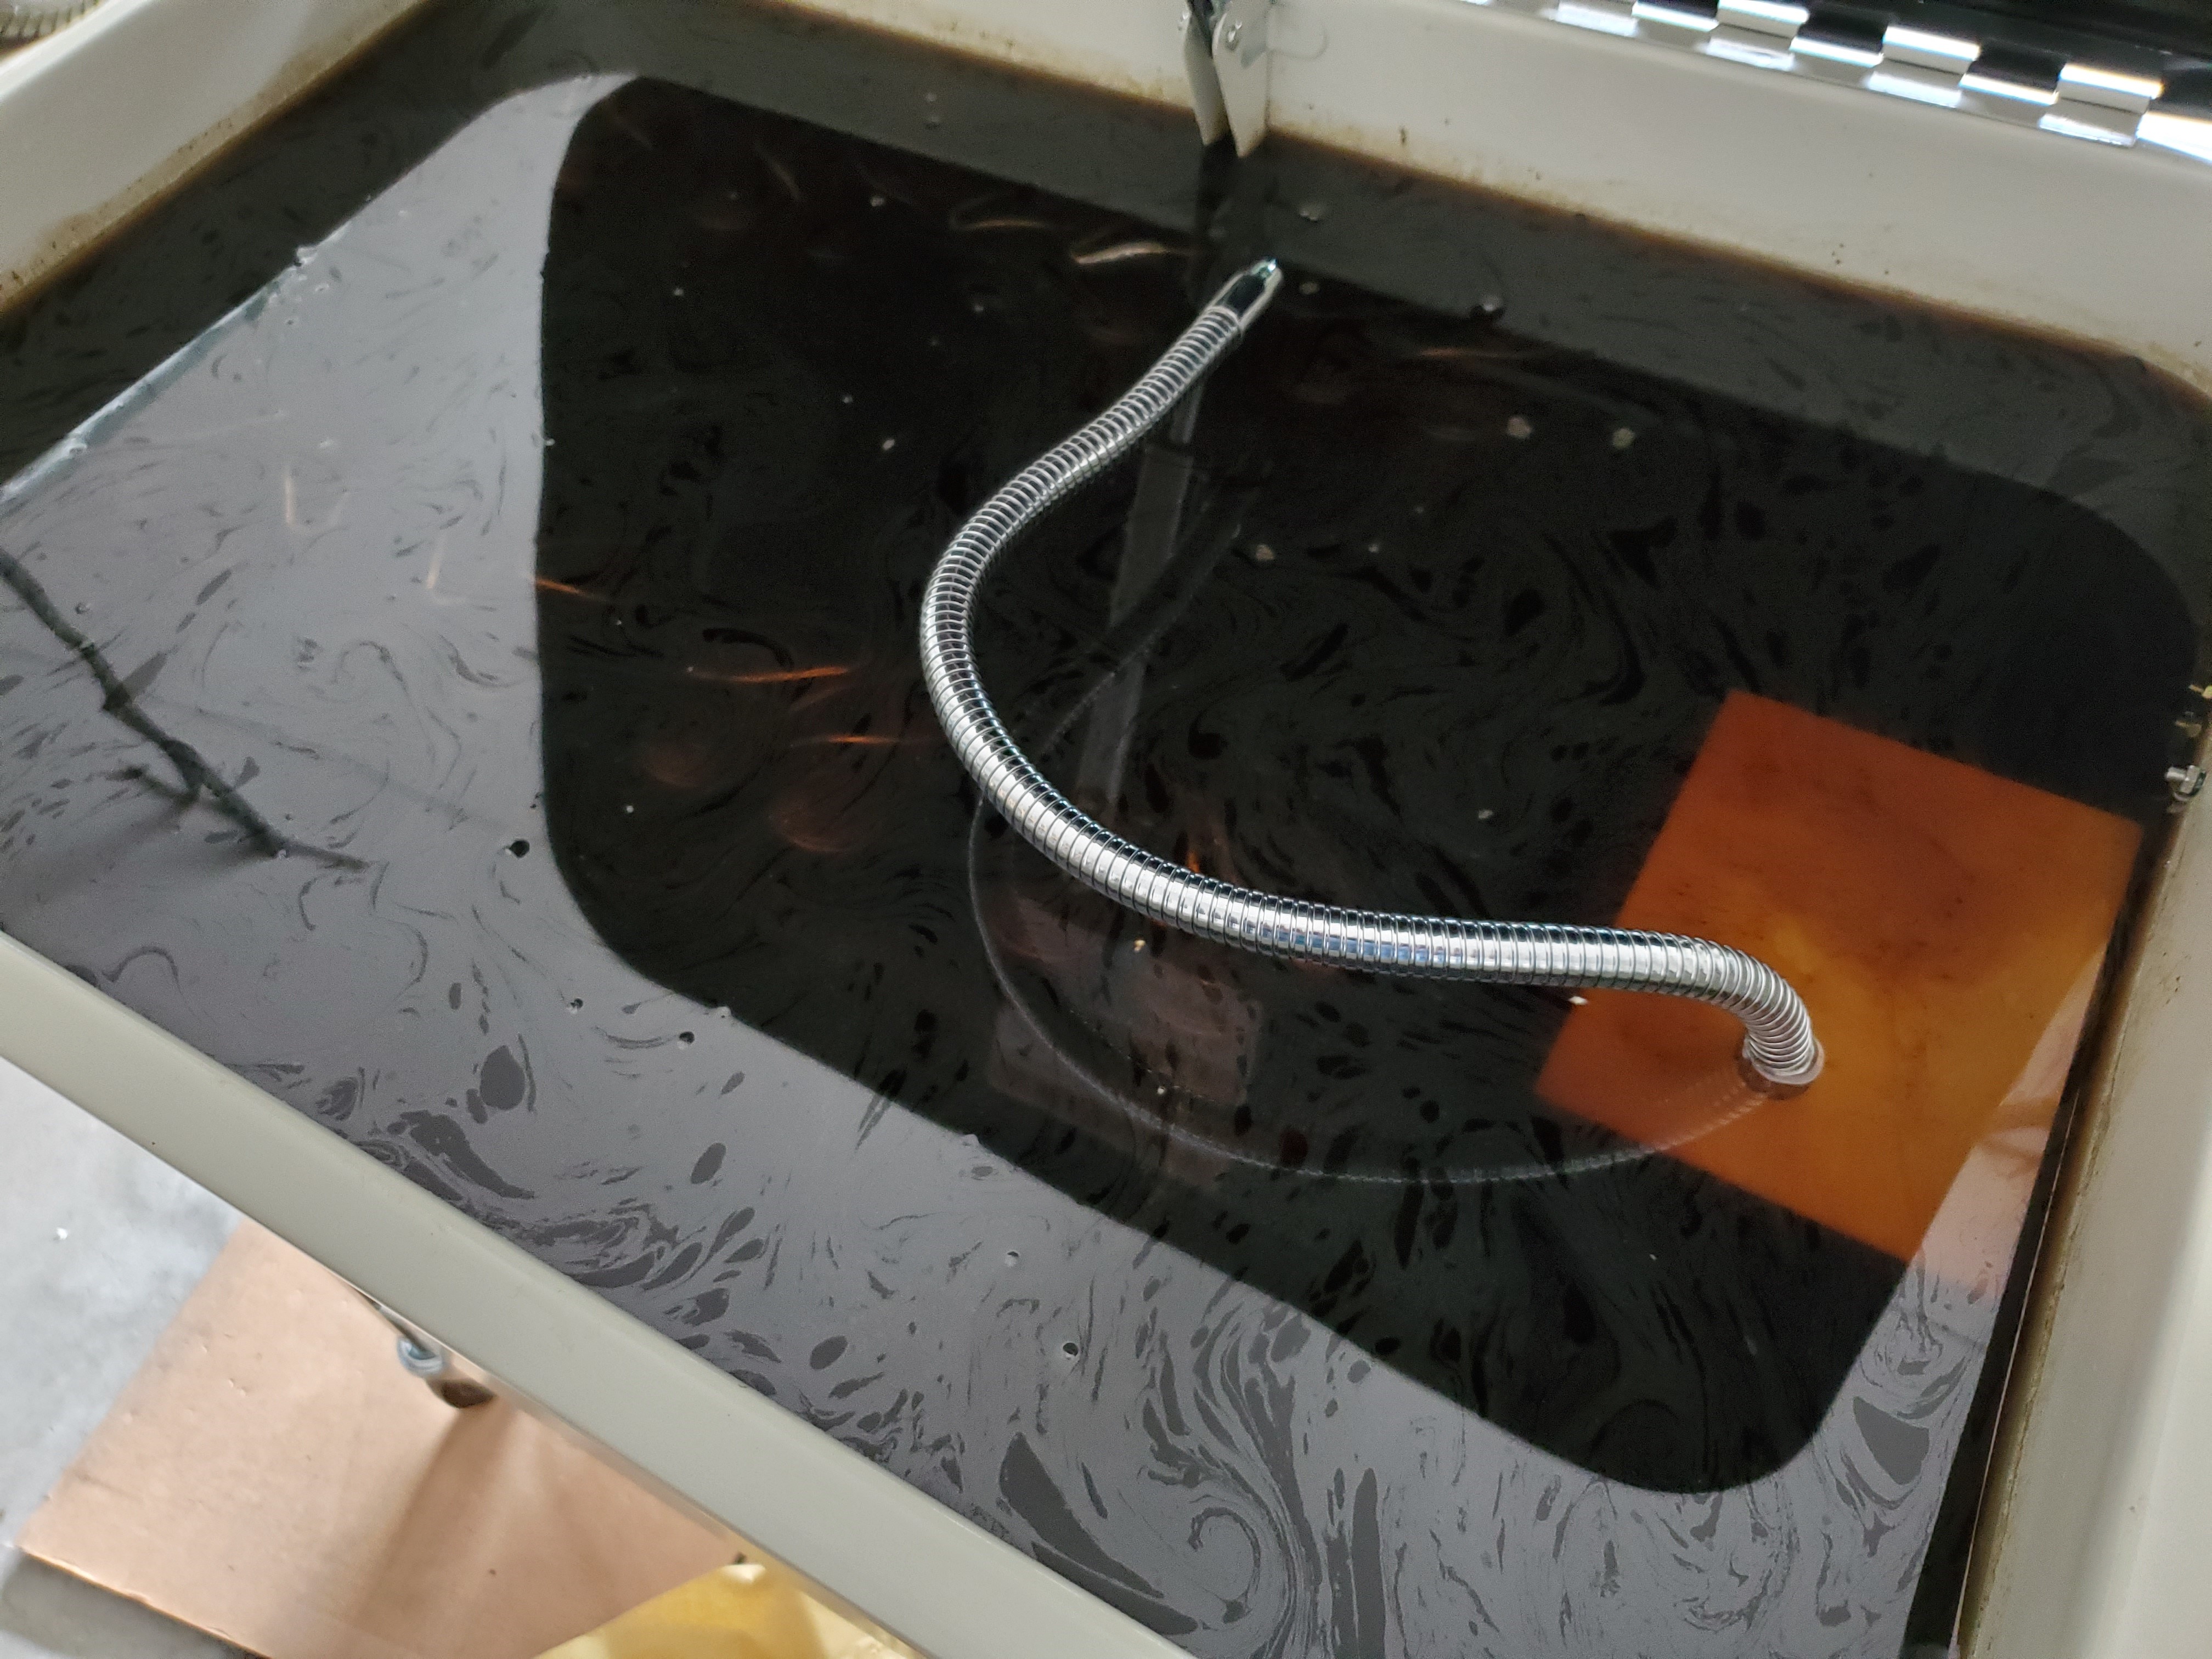
 So, I broke down and ordered myself a new parts washer instead of jerry rigging a red-neck hot tank. It's big enough to fit two heads in, but just barely. Here's the first head going into the crystal clear bath for a soak.
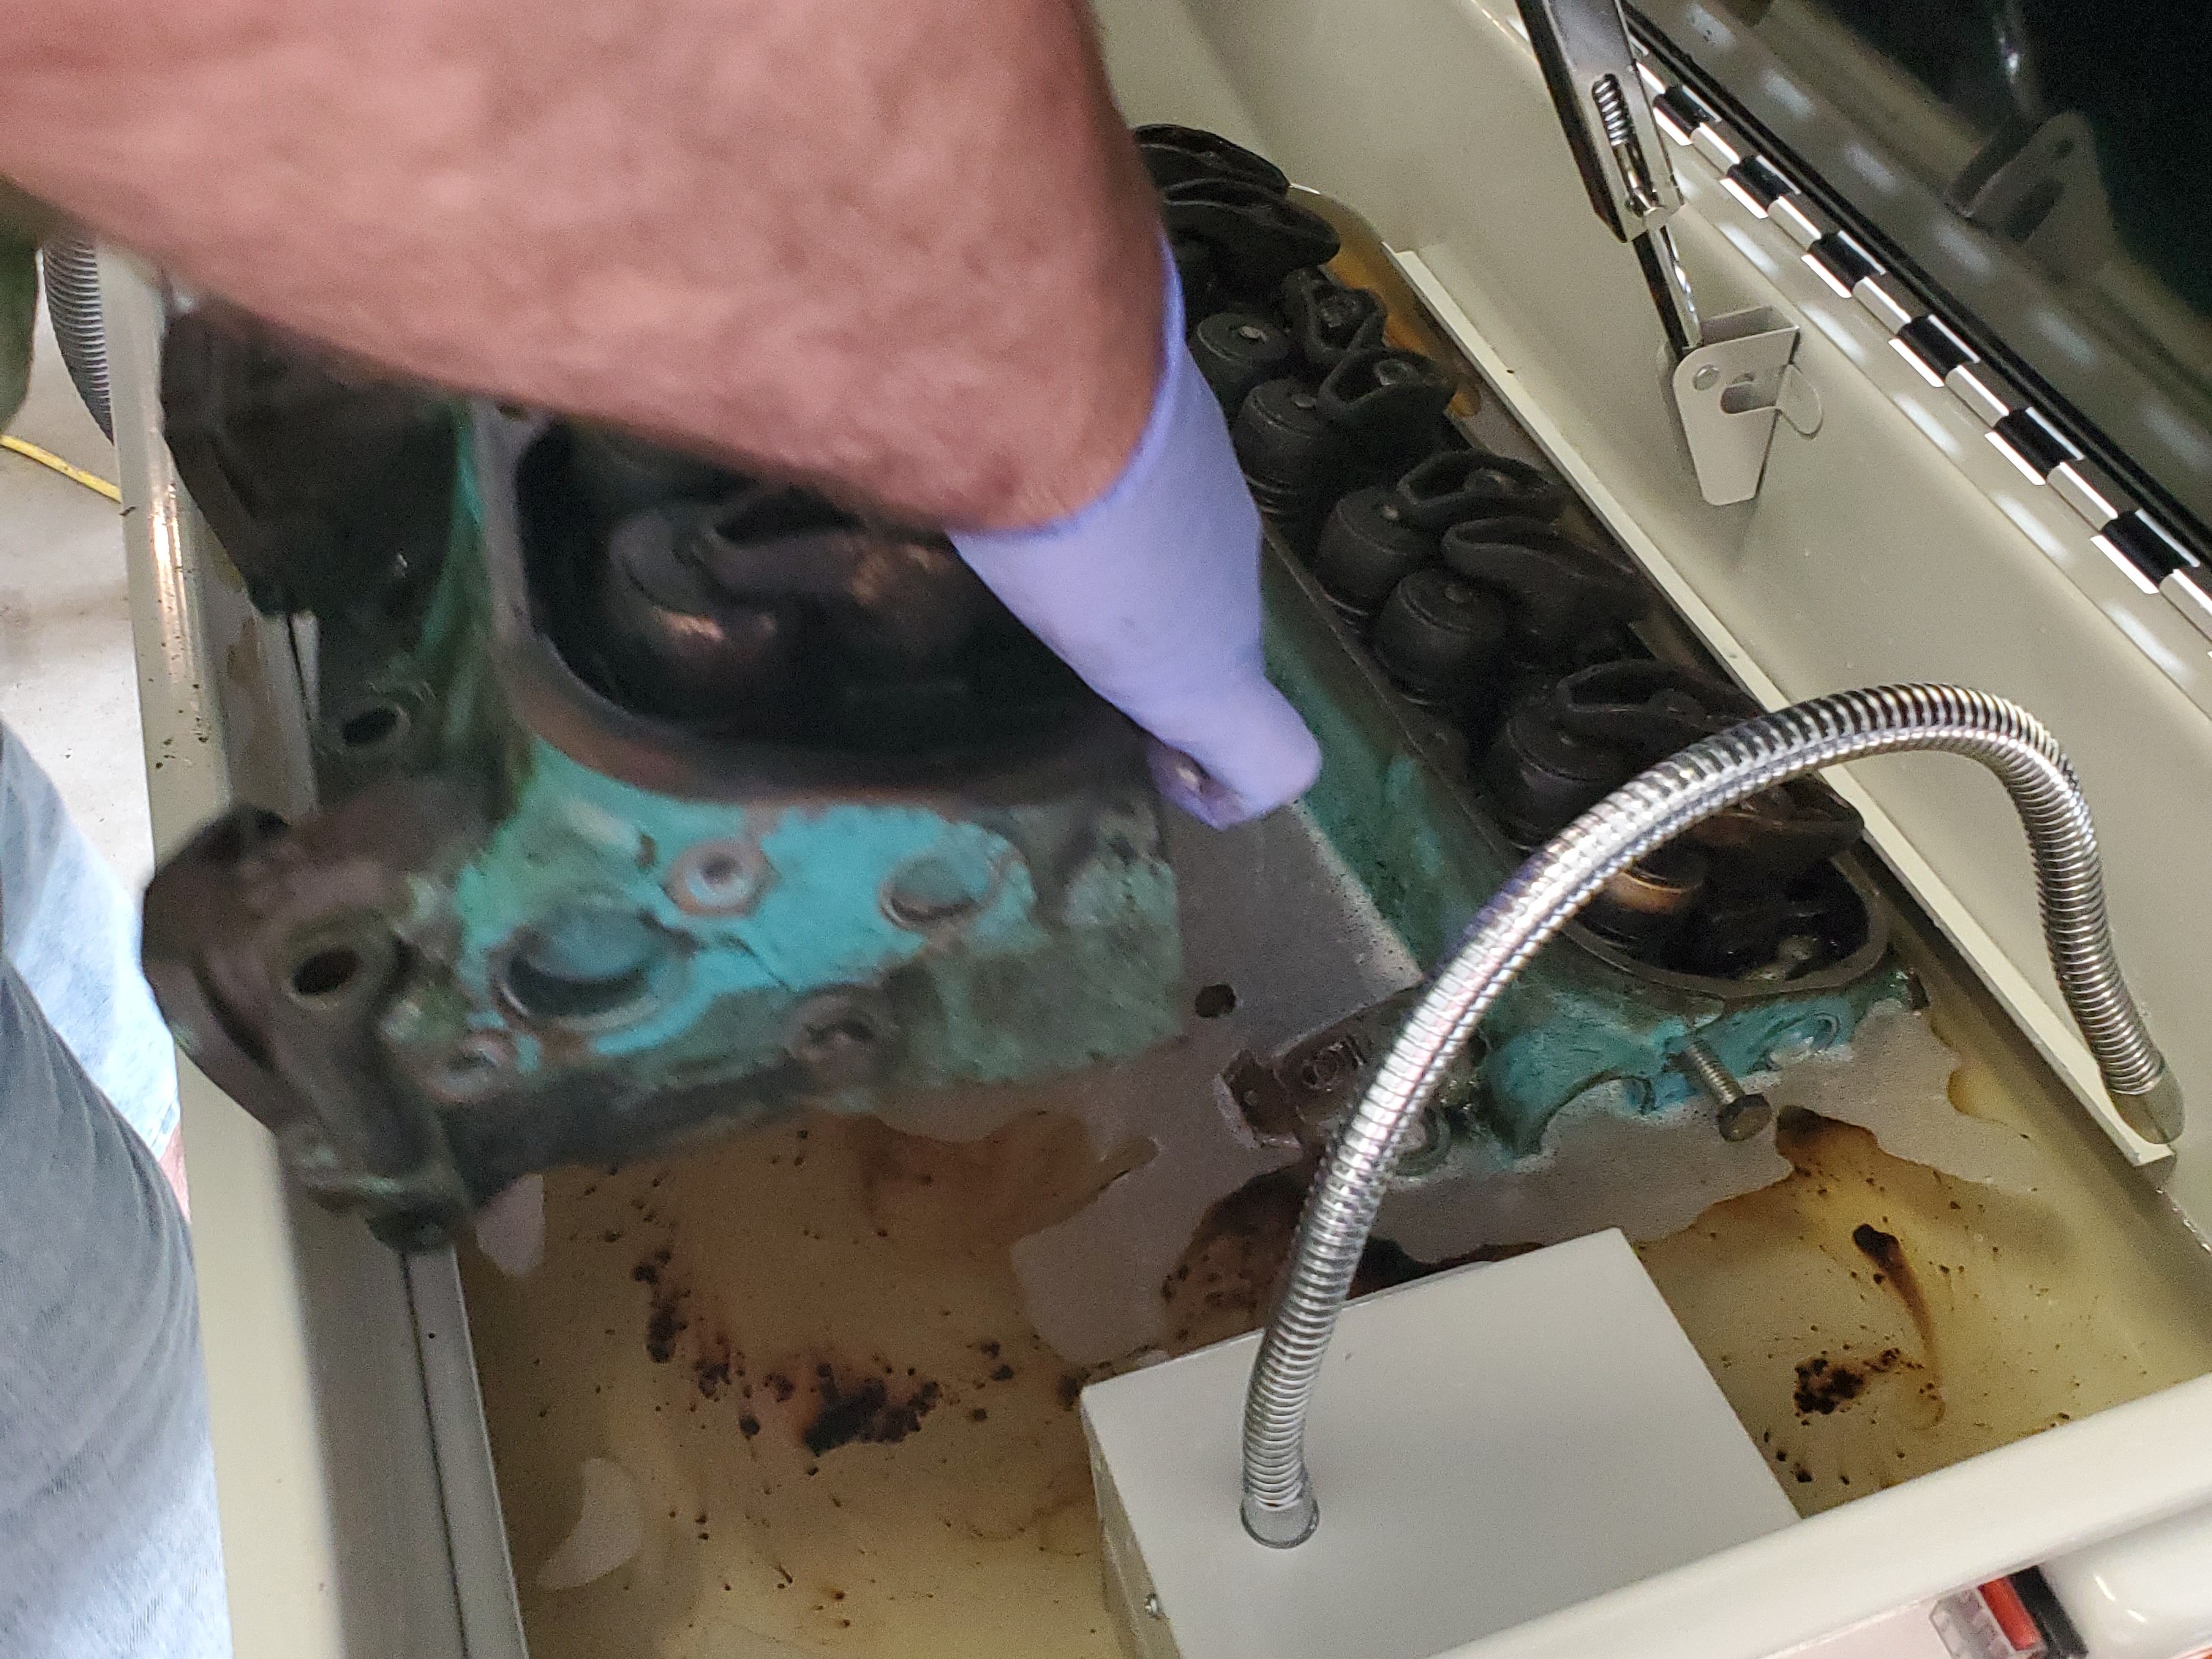 And here's the second head joining it's partner for a bath. The cleaning solution doesn't look so crystal clear any more. It was shortly after this that I learned that just because two heads fit in the tank, doesn't mean two heads should share the tank.
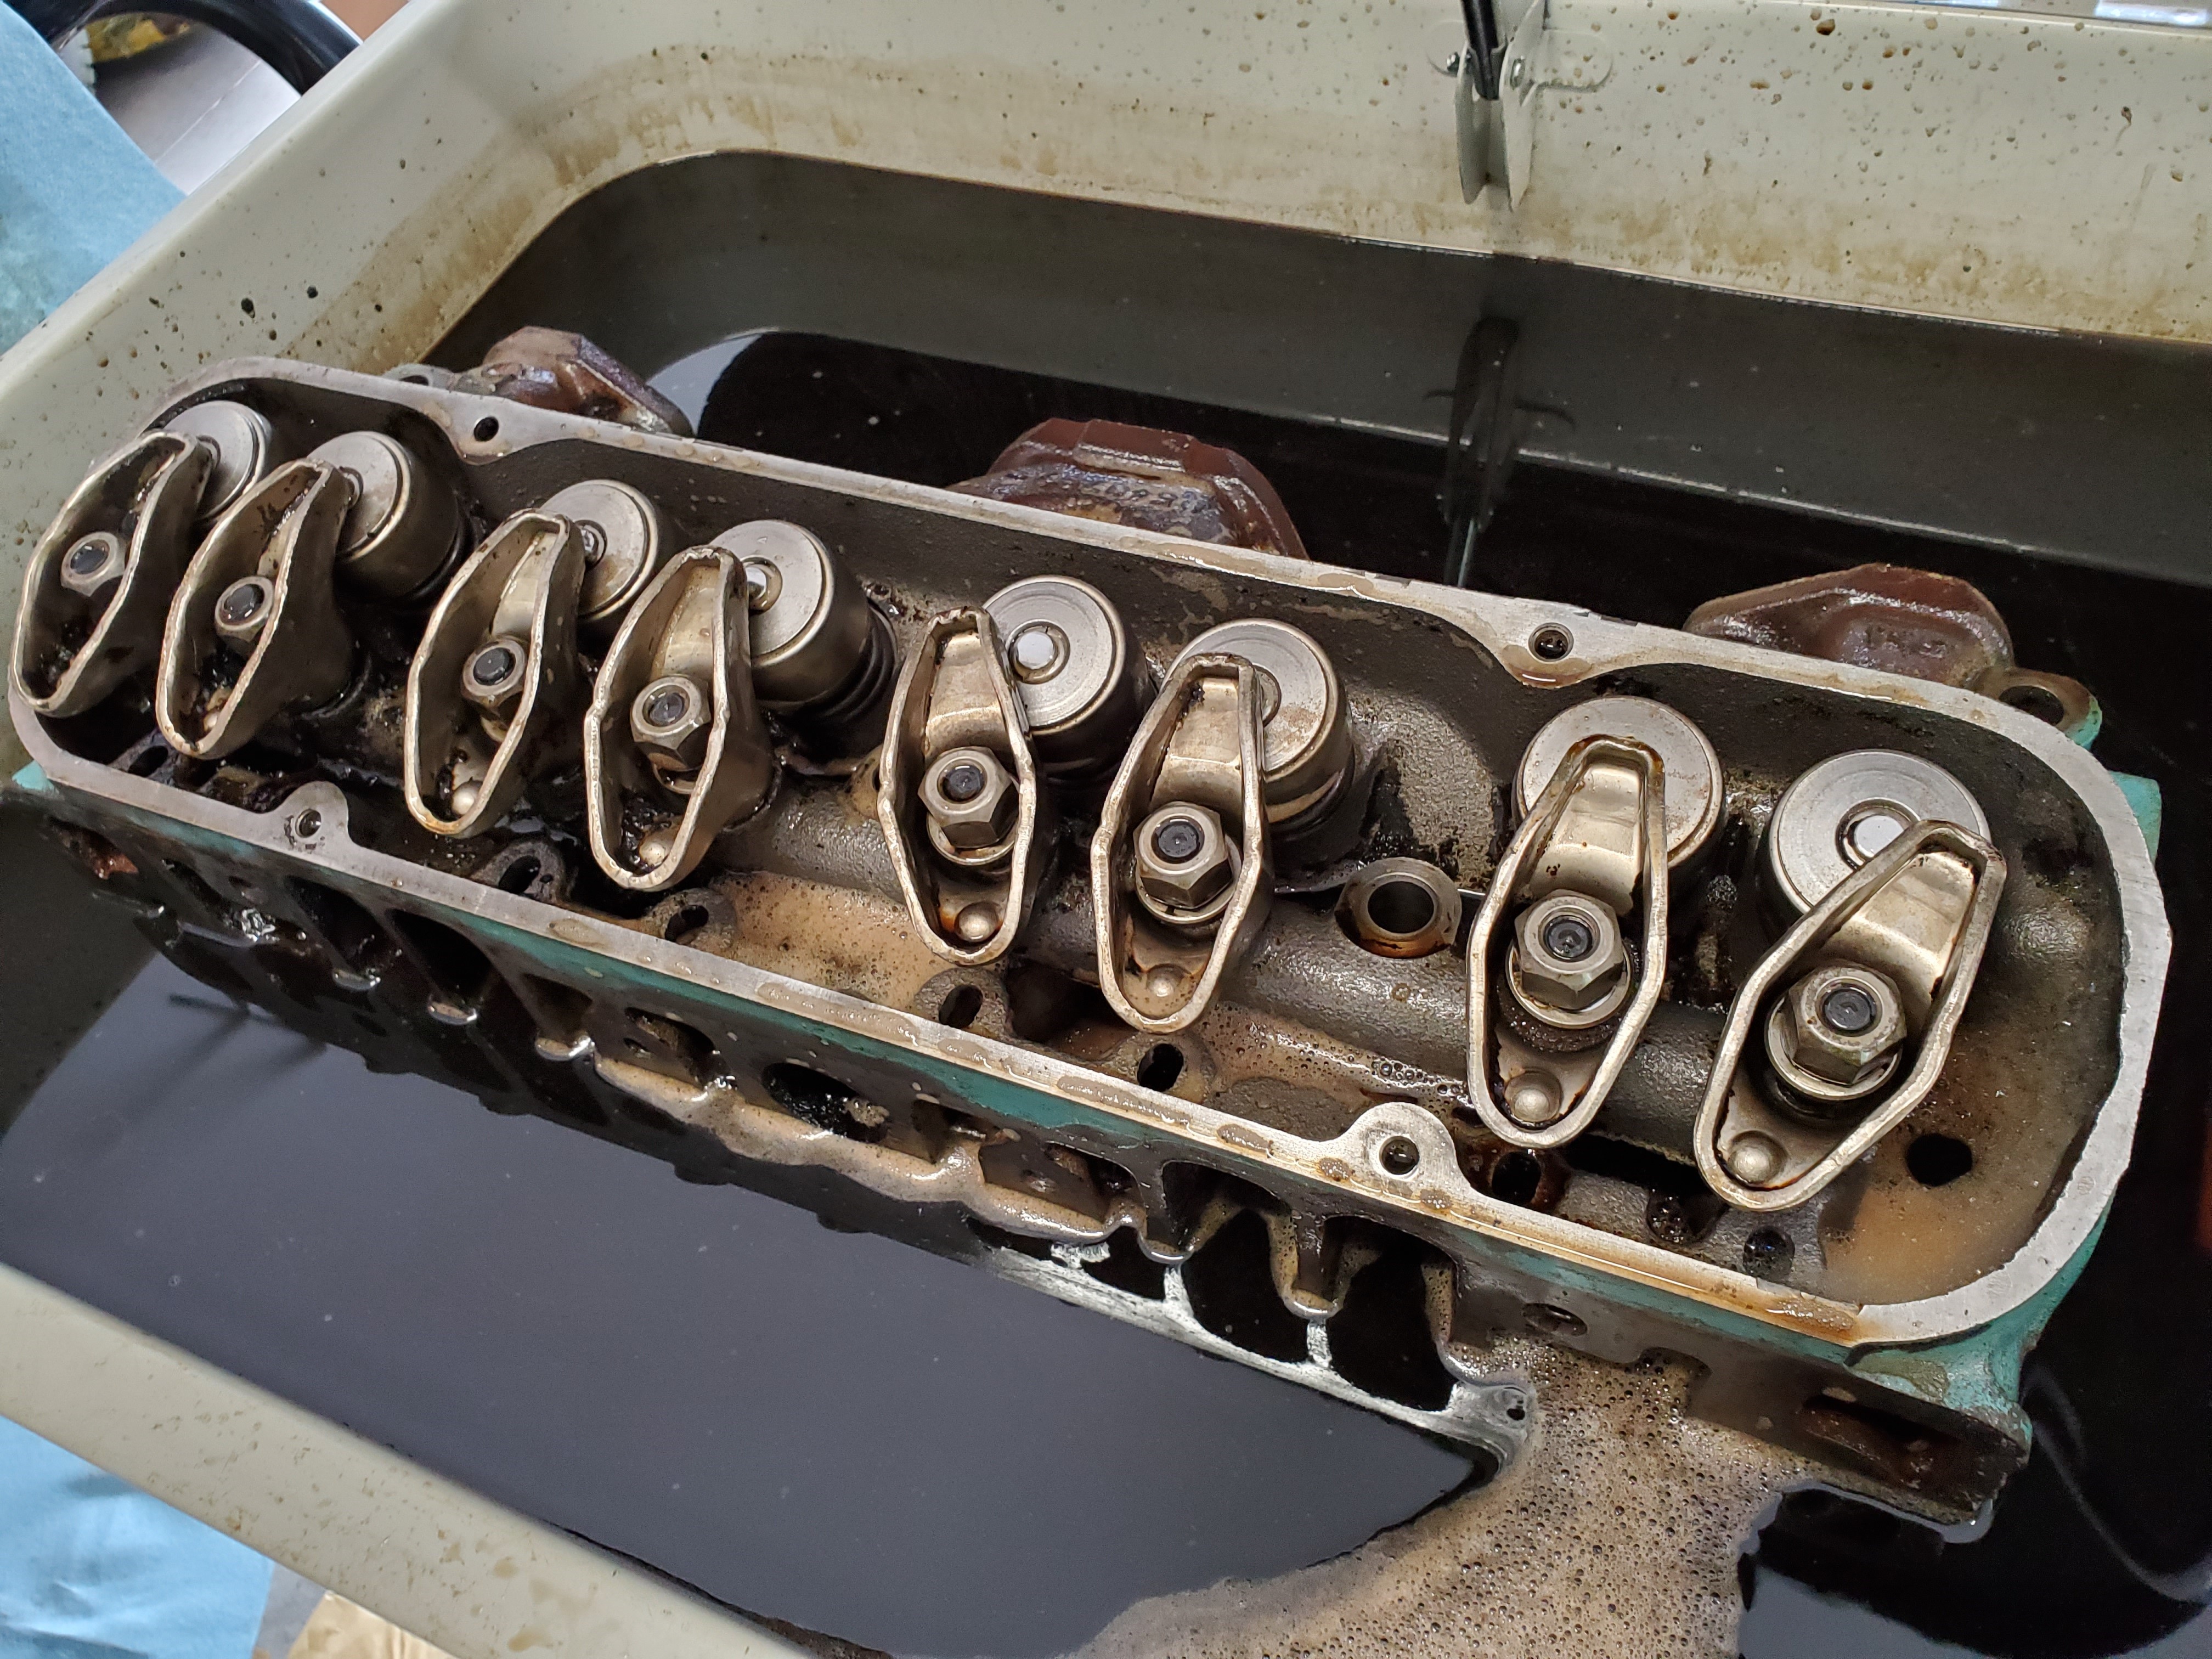 I'm impressed. This is the result of only about 2 hours in the bath and a little scrubbing with a brush. After this I set one head in to soak along with the valley pan. They'll sit a couple of days and then I'll swap in the other head to keep leaks to a minimum.


2020, Lockdowns and other updates...